Team server
Teamwork in ShardBrowser through your own team server
A team server lets several people work with shared ShardBrowser profiles. You run the server yourself, for example on a VPS: the team's profiles are stored on it, and members' launchers connect to the server with an invite. The admin decides which folders and actions each member can access.
What you need
- ShardBrowser 2.1.2 or newer on every member's computer.
- A server that members can reach over the network, for example an Ubuntu VPS with SSH access as
rootor a user withsudo. - Inbound port
8787(TCP) open on the server.
Creating a team in ShardBrowser
In the bottom-left corner, click the Personal workspace switcher and select Create a team....
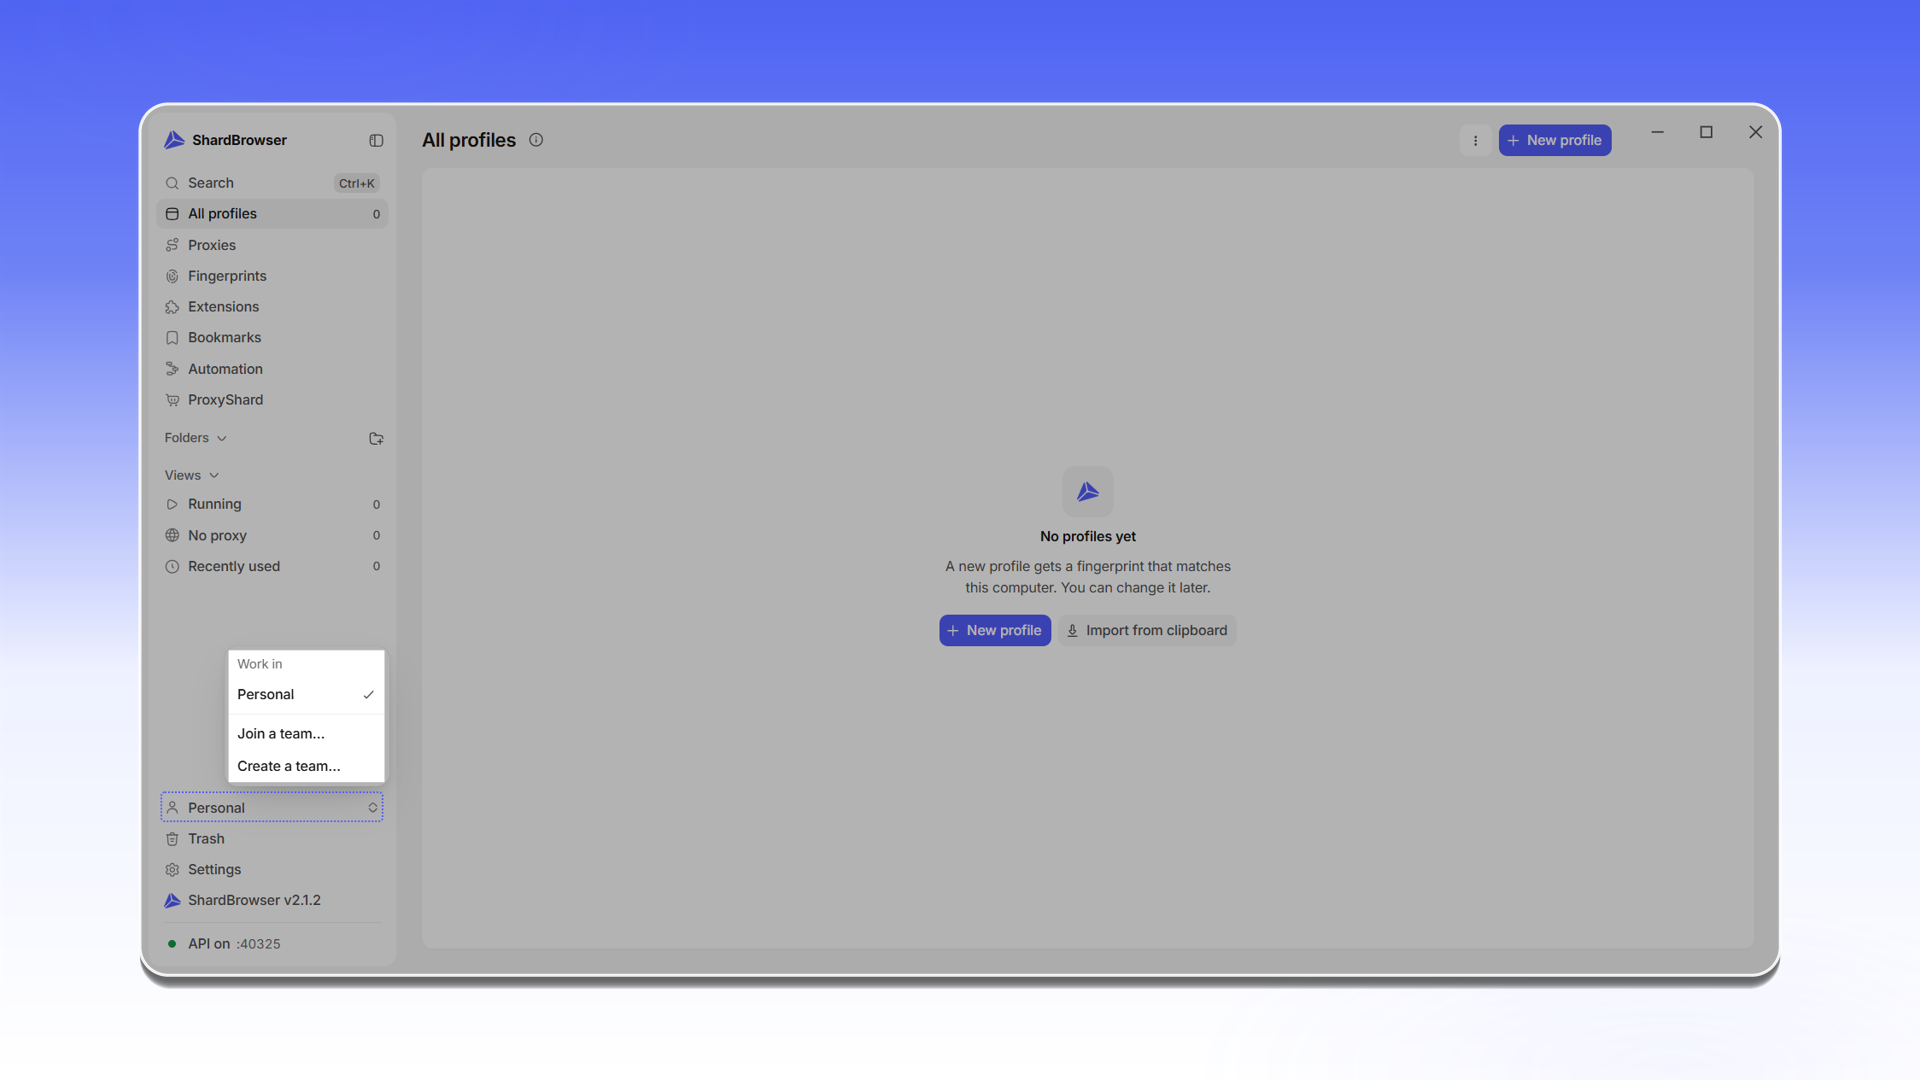
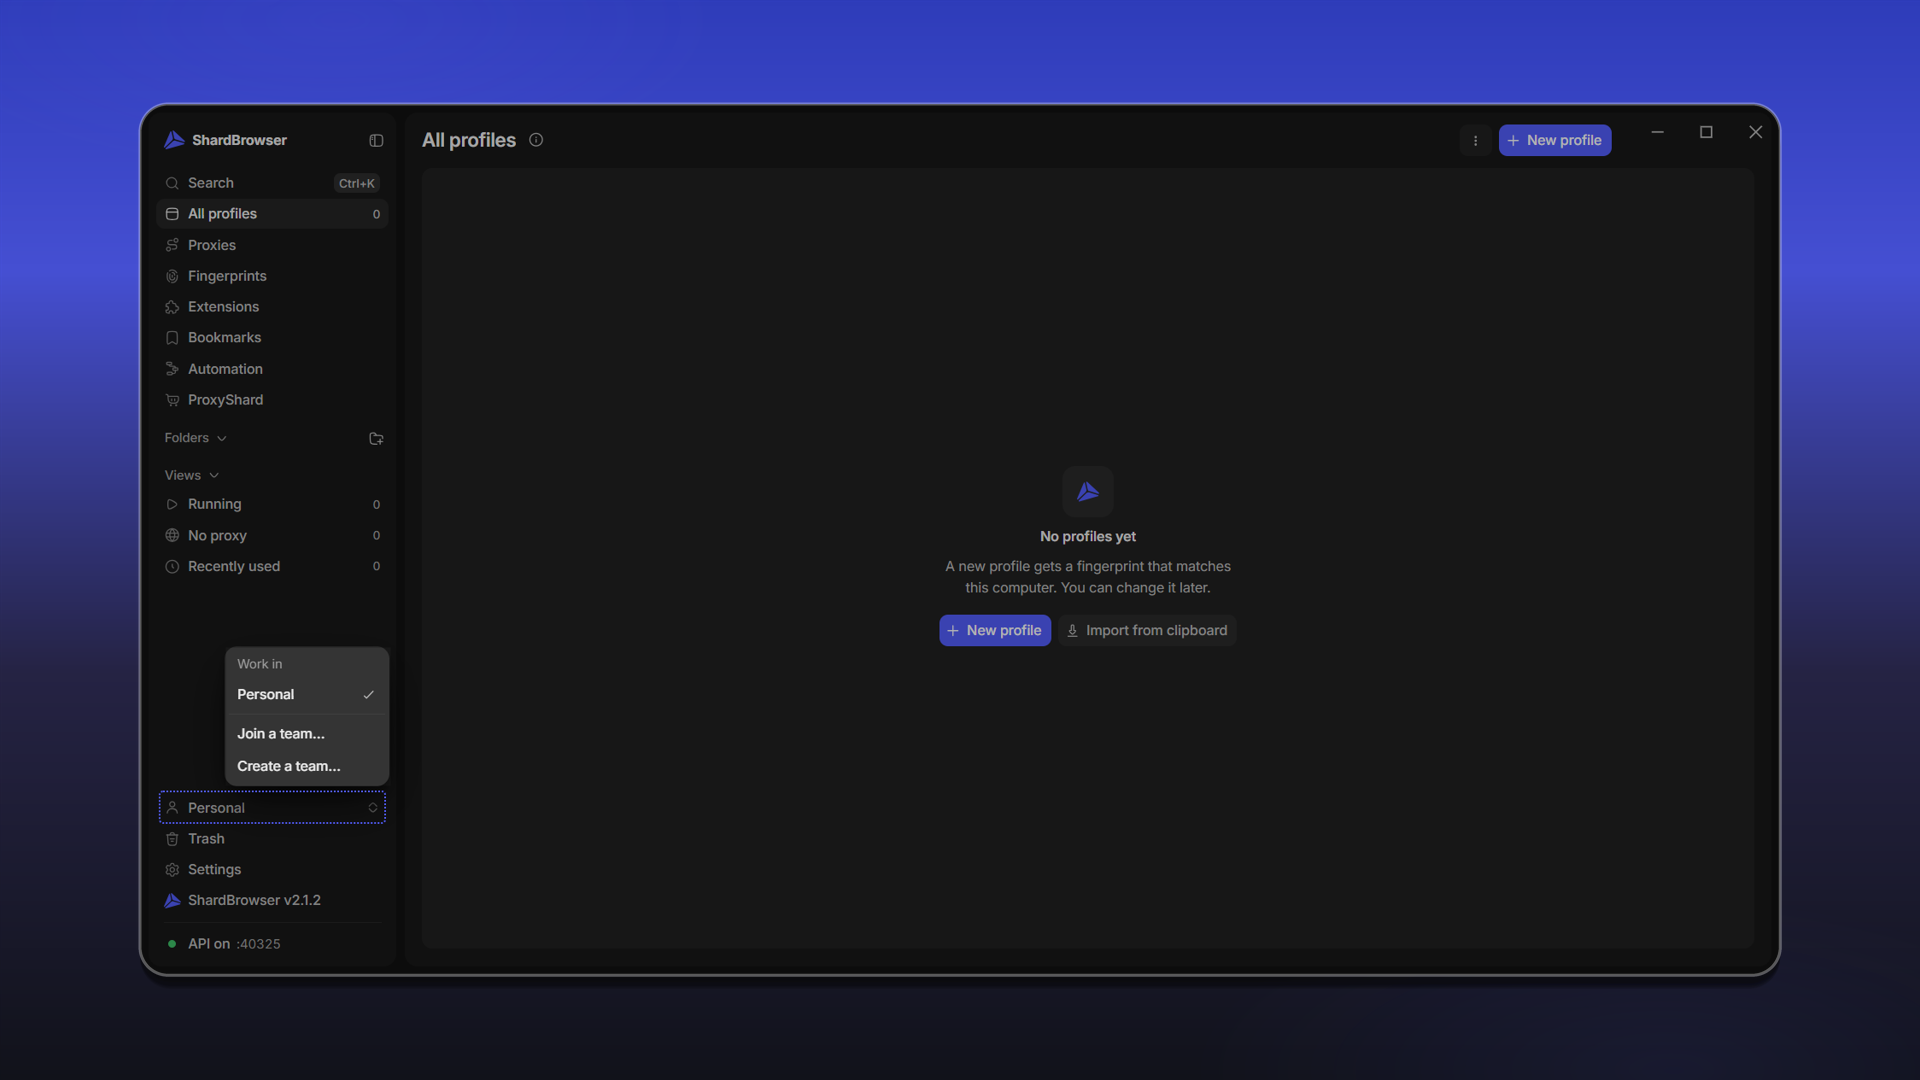
The Create a team window opens. Enter the team name in the Team name field. The server reads it only on the first start; you can rename the team later on its page.
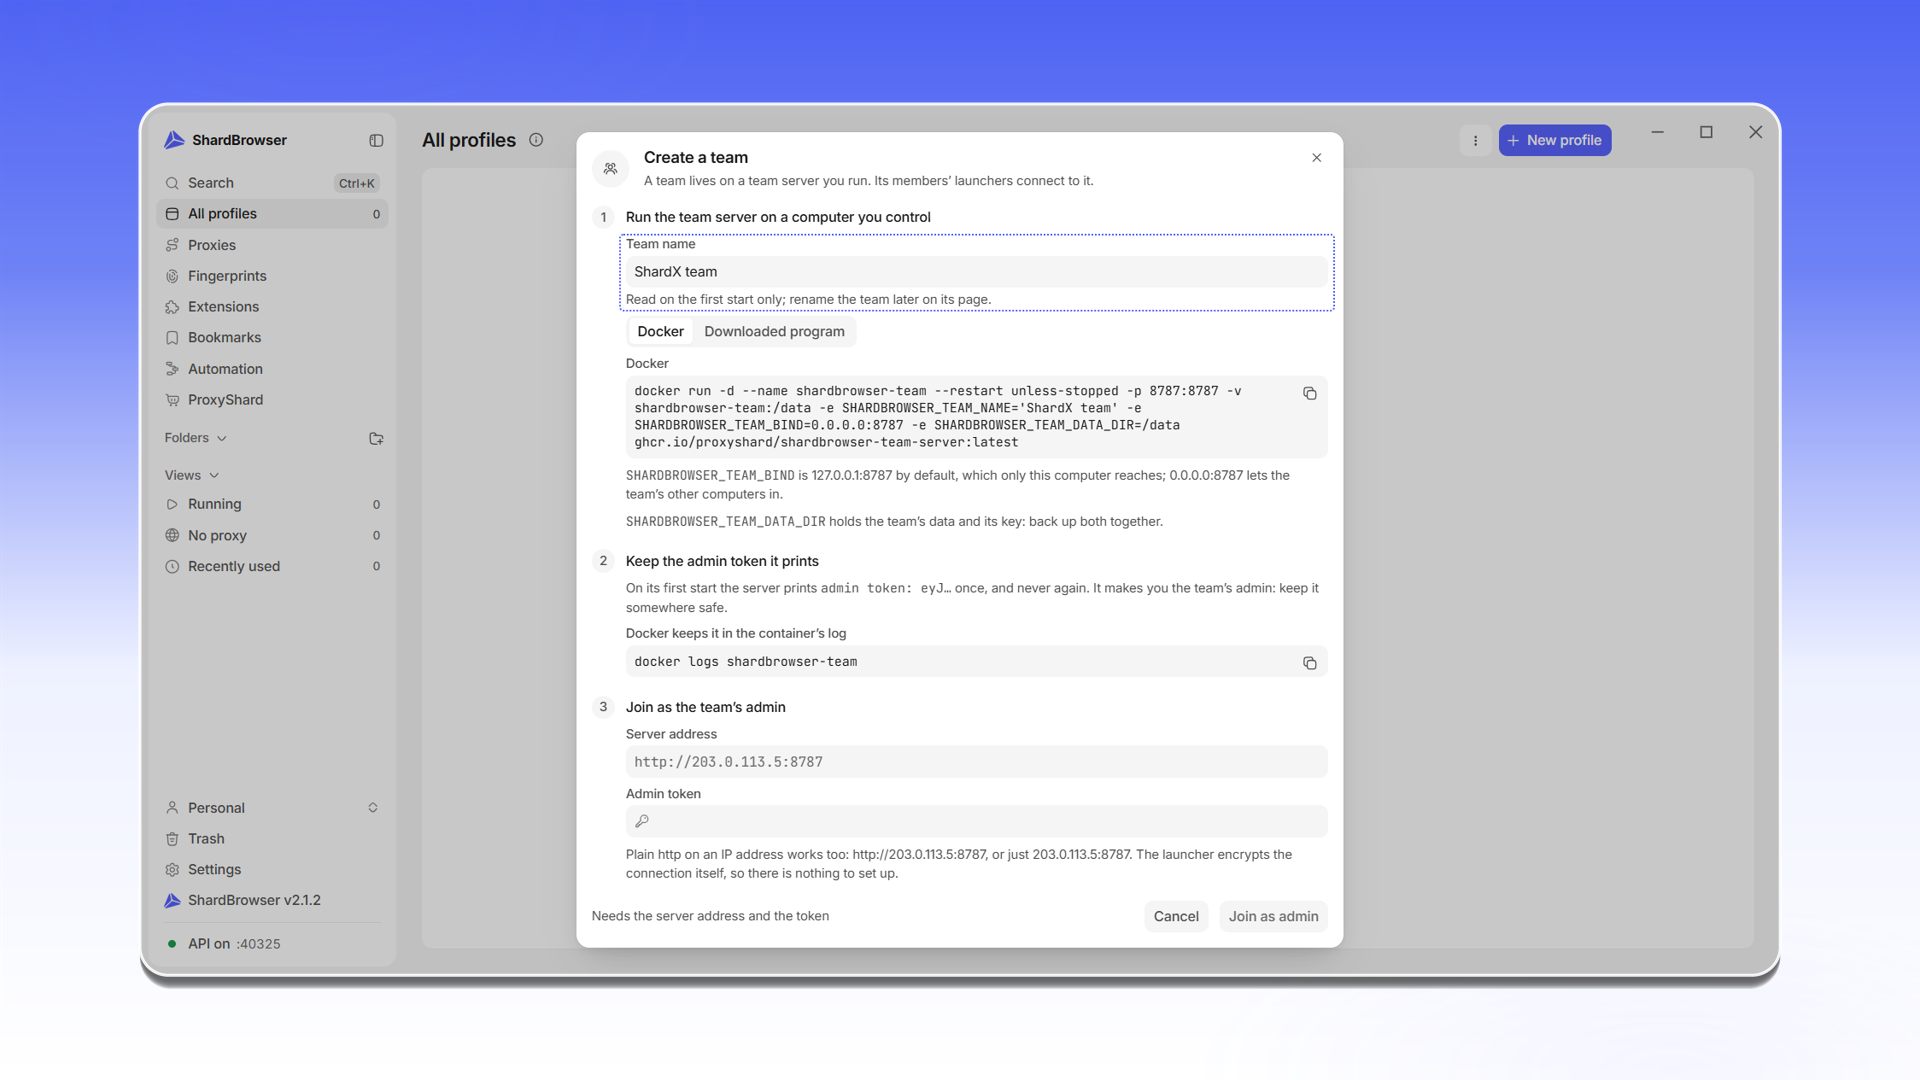
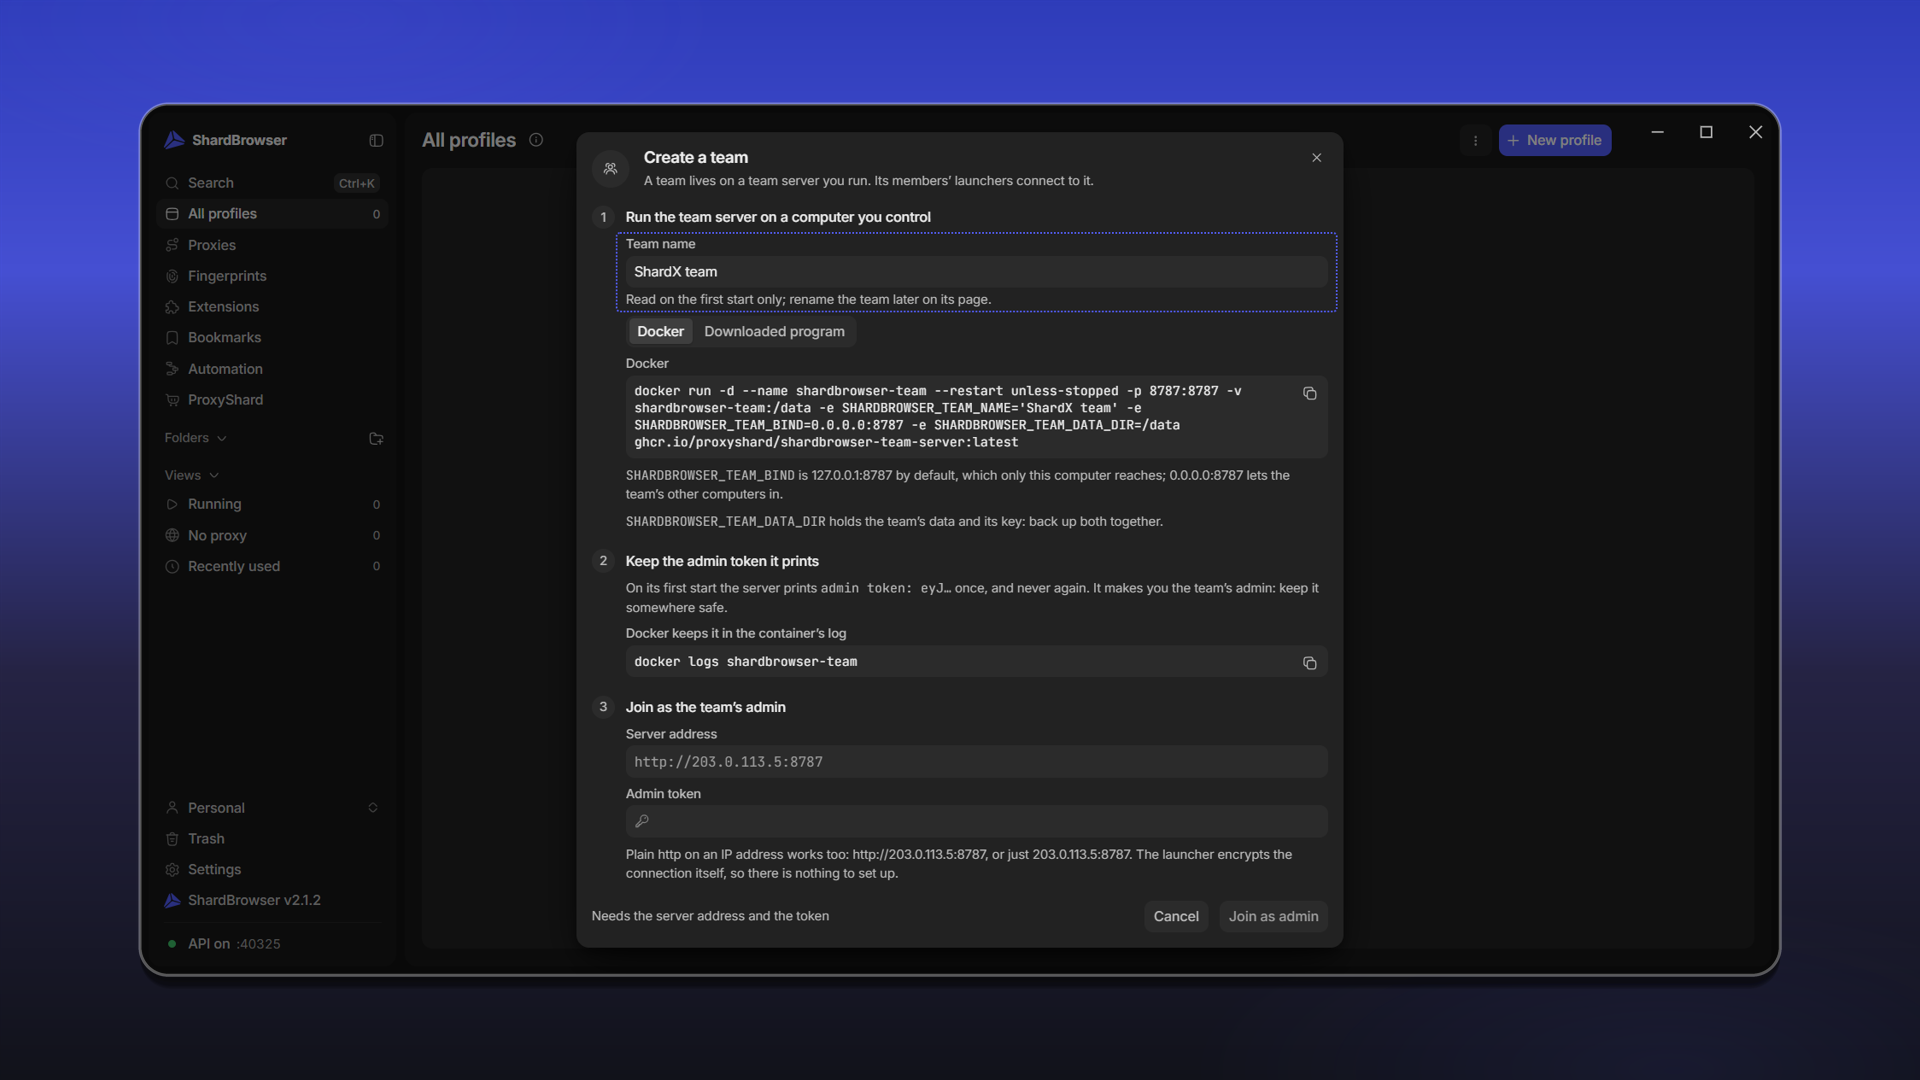
Keep this window open: you will need the server start command and the connection fields later.
Installing Docker and the team server on a VPS
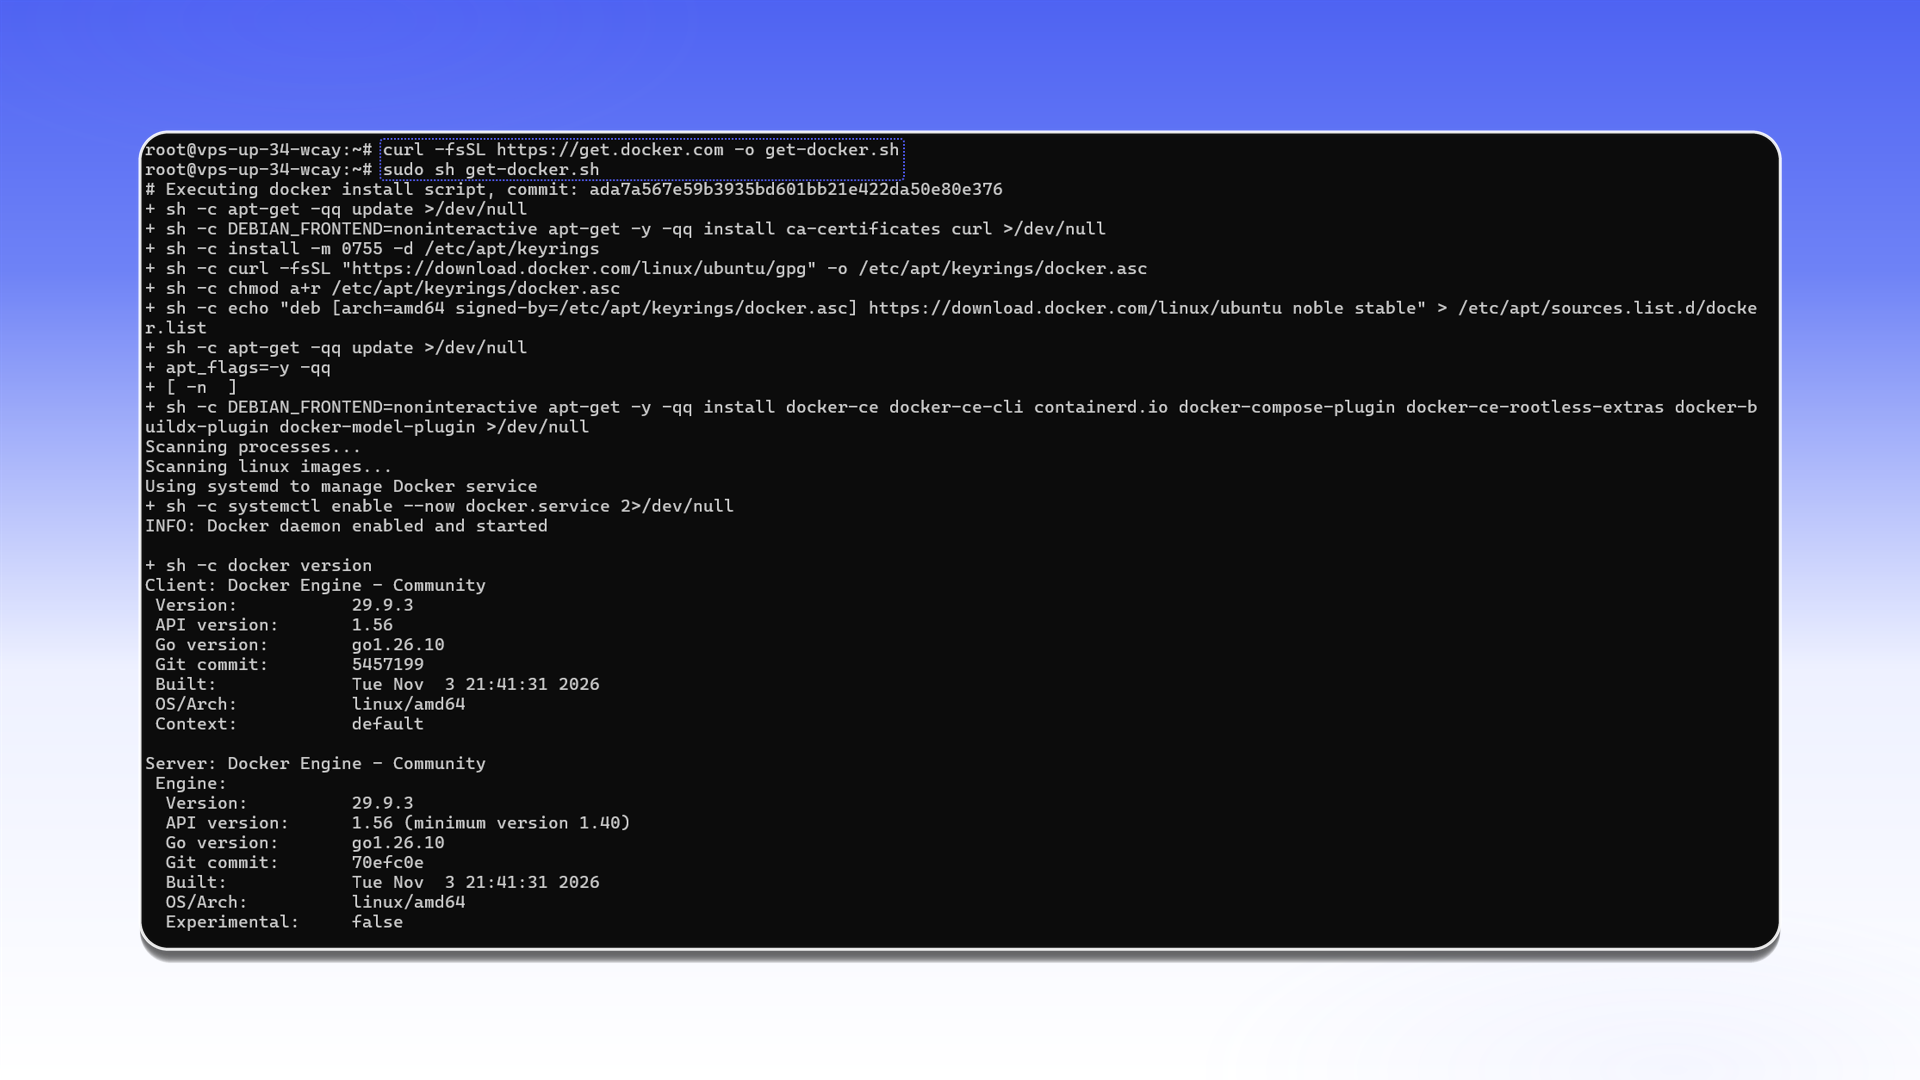
Connect to the server over SSH and install Docker with the official script:
curl -fsSL https://get.docker.com -o get-docker.sh
sudo sh get-docker.sh
The script adds the Docker repository, installs the packages and starts the service. At the end it prints the Docker Engine client and server versions.
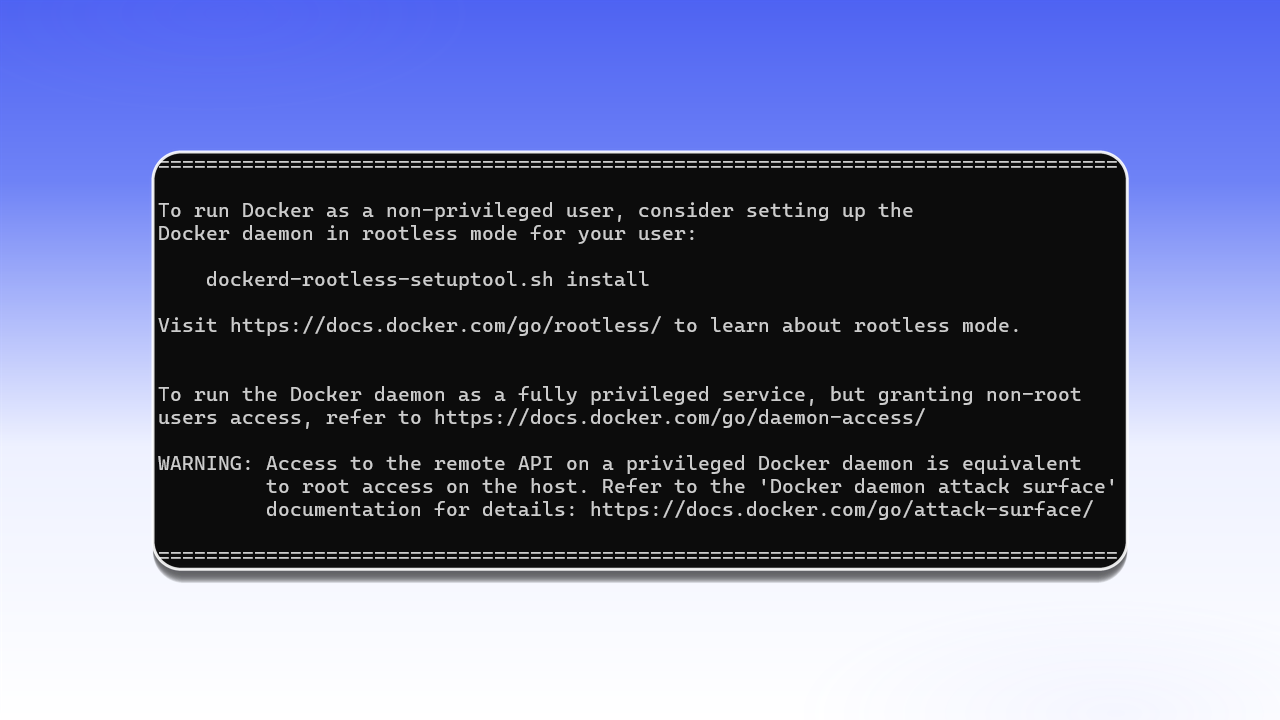
If a message about rootless mode and Docker API access appears at the end, it is just the installer's standard note. Nothing extra needs to be set up for the team server.
Go back to ShardBrowser. On the Docker tab of the Create a team window, the server start command with your team name is ready. Copy it with the button to the right of the field.
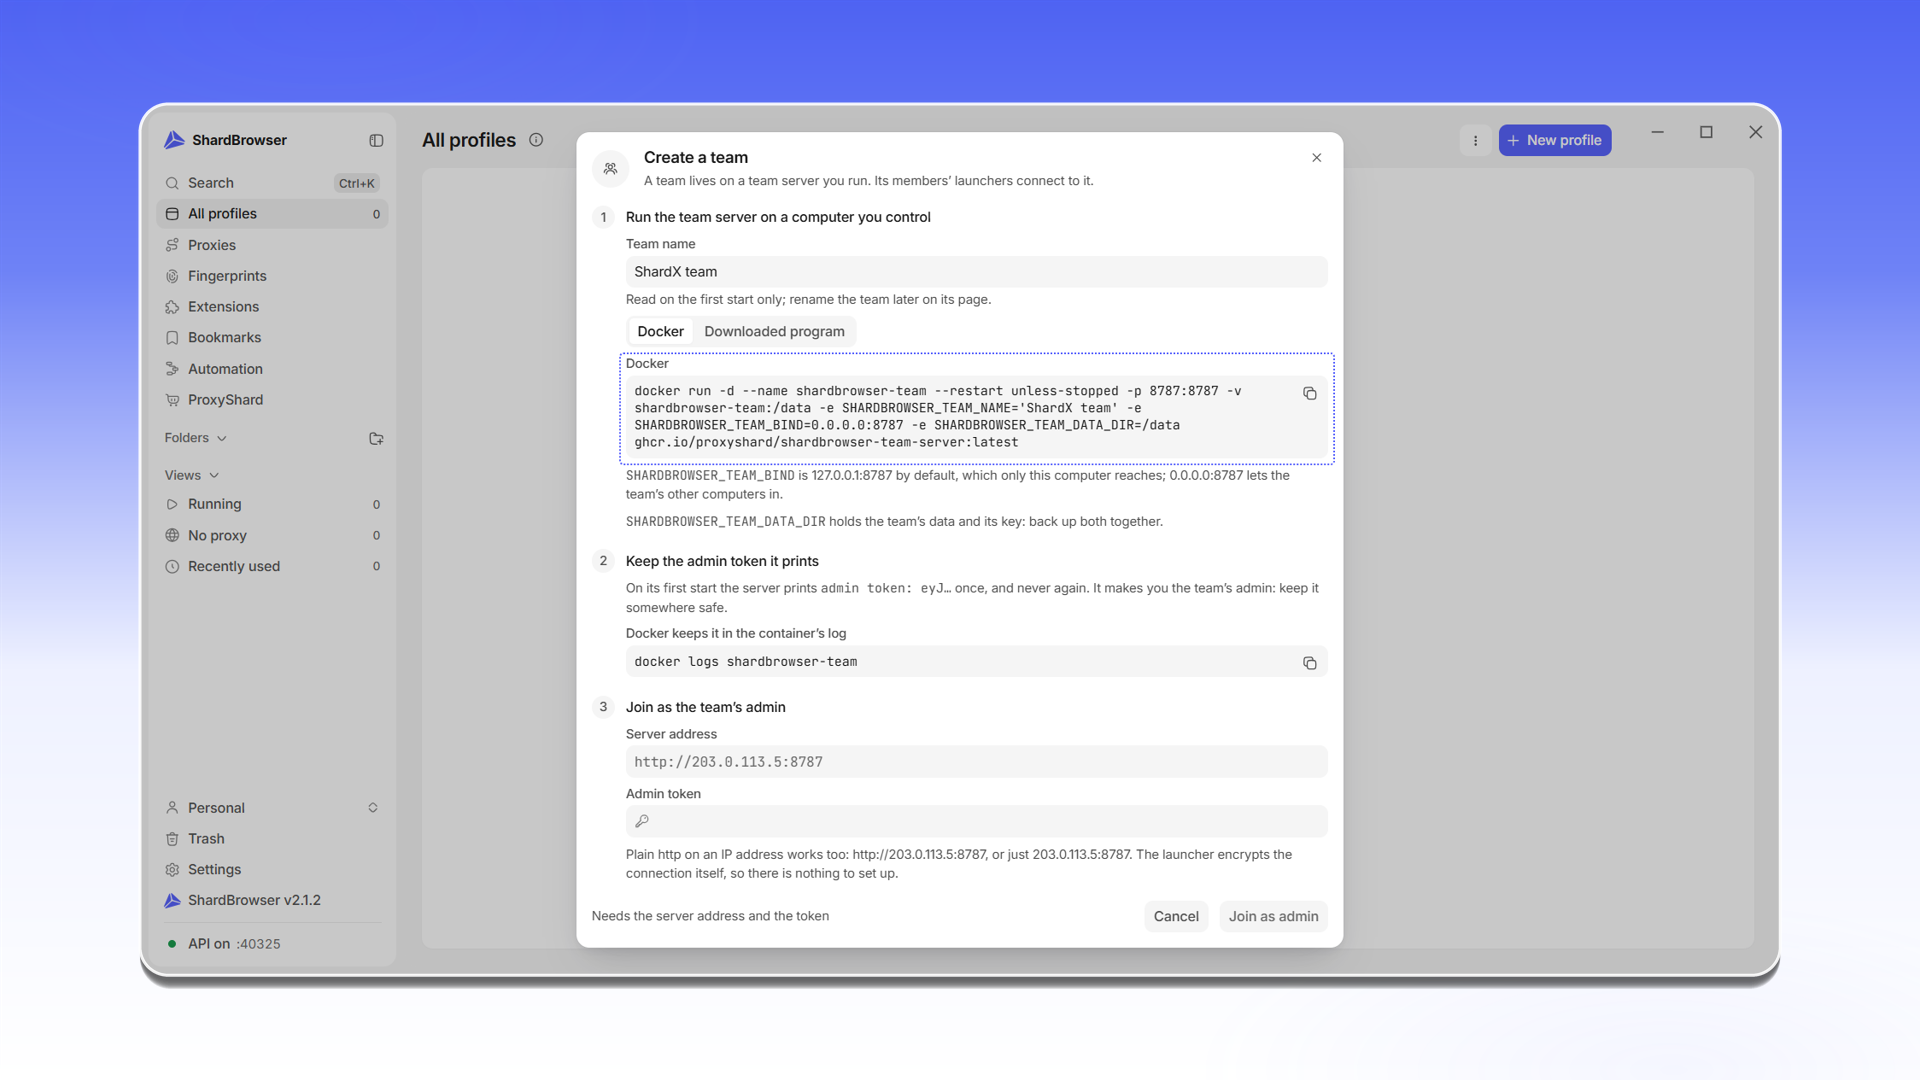
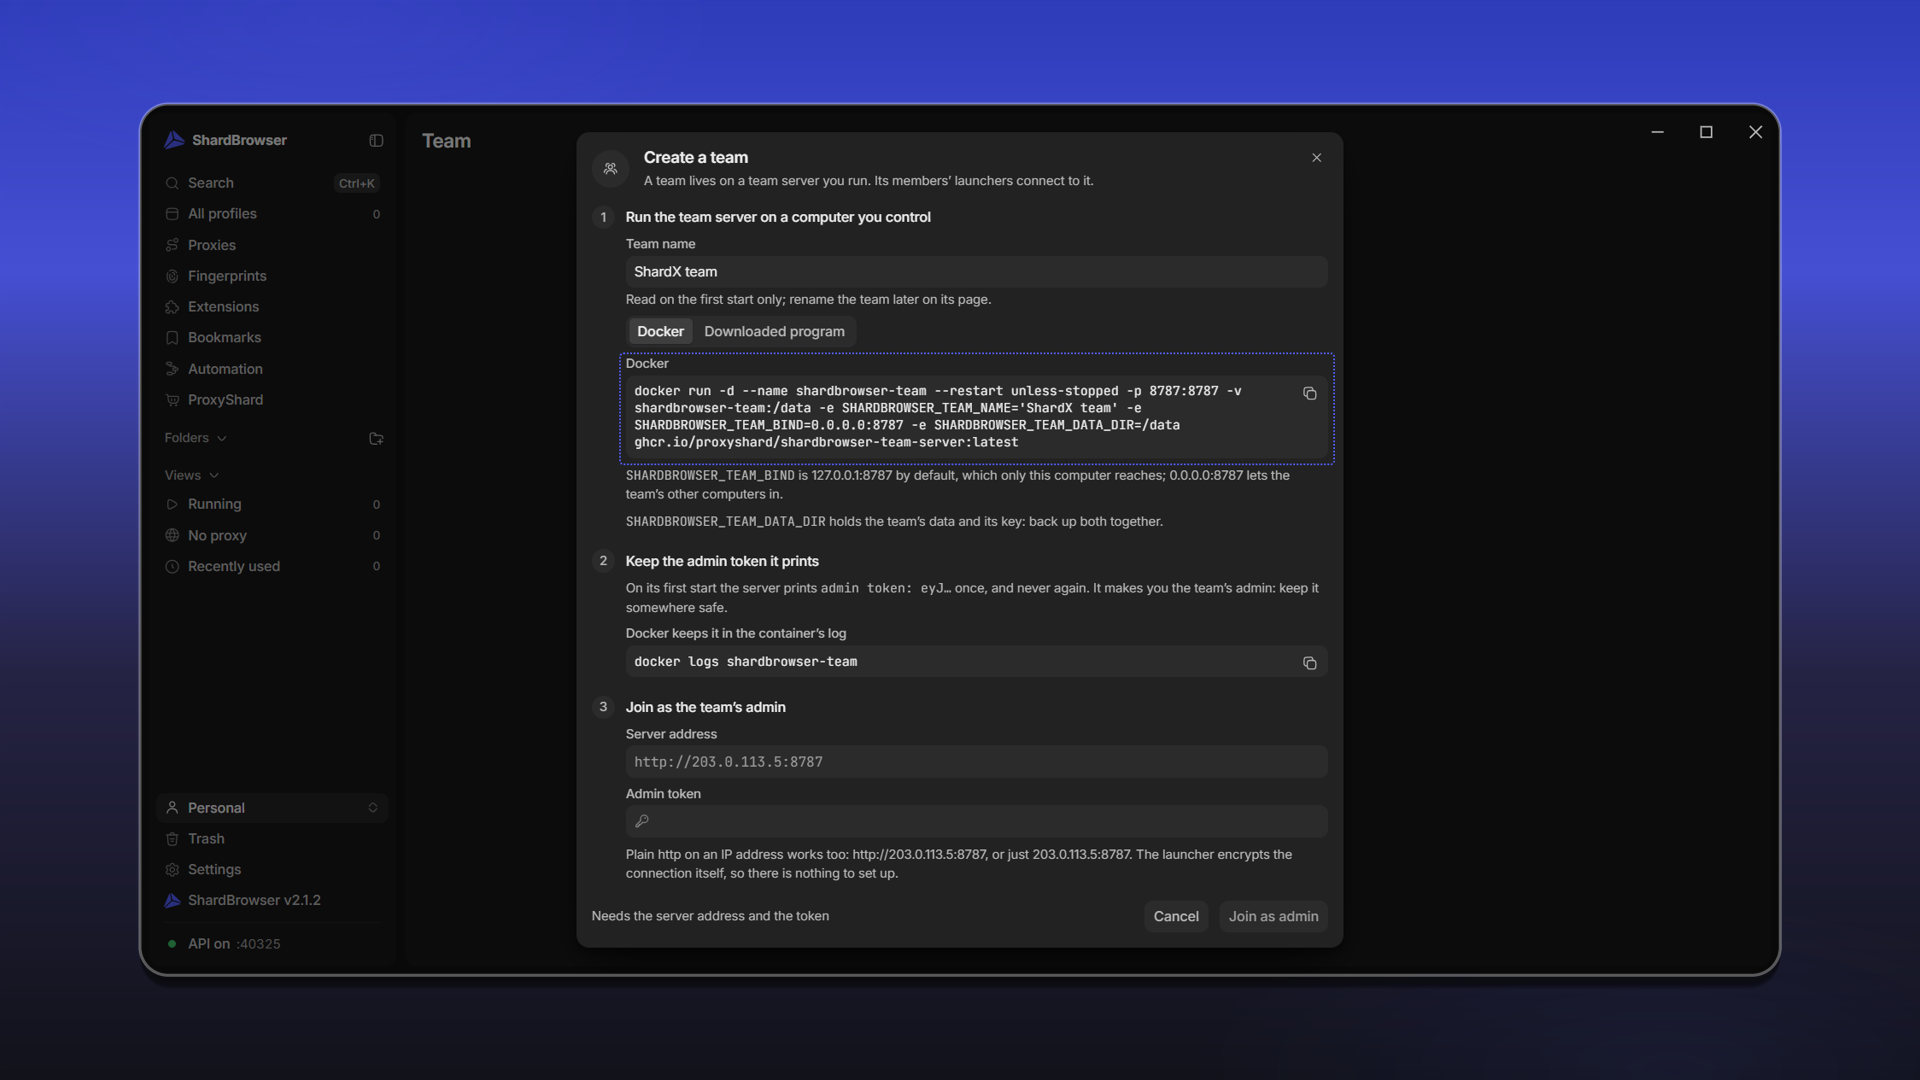
SHARDBROWSER_TEAM_BIND defaults to 127.0.0.1:8787, which means the server can only be reached from the same machine. To let other members connect, keep 0.0.0.0:8787 in the command.
SHARDBROWSER_TEAM_DATA_DIR is the folder with the team's data and its key. Back up the whole folder together.
On the server, enable Docker autostart, check the installation and run the copied command:
sudo systemctl enable docker
sudo systemctl start docker
sudo usermod -aG docker $USER
docker --version
docker compose version
docker run -d --name shardbrowser-team --restart unless-stopped -p 8787:8787 -v shardbrowser-team:/data -e SHARDBROWSER_TEAM_NAME='ShardX team' -e SHARDBROWSER_TEAM_BIND=0.0.0.0:8787 -e SHARDBROWSER_TEAM_DATA_DIR=/data ghcr.io/proxyshard/shardbrowser-team-server:latestInstead of ShardX team, the command will contain the name you entered. Docker pulls the shardbrowser-team-server image and starts the shardbrowser-team container. Thanks to --restart unless-stopped, the server comes back up by itself after the VPS reboots.
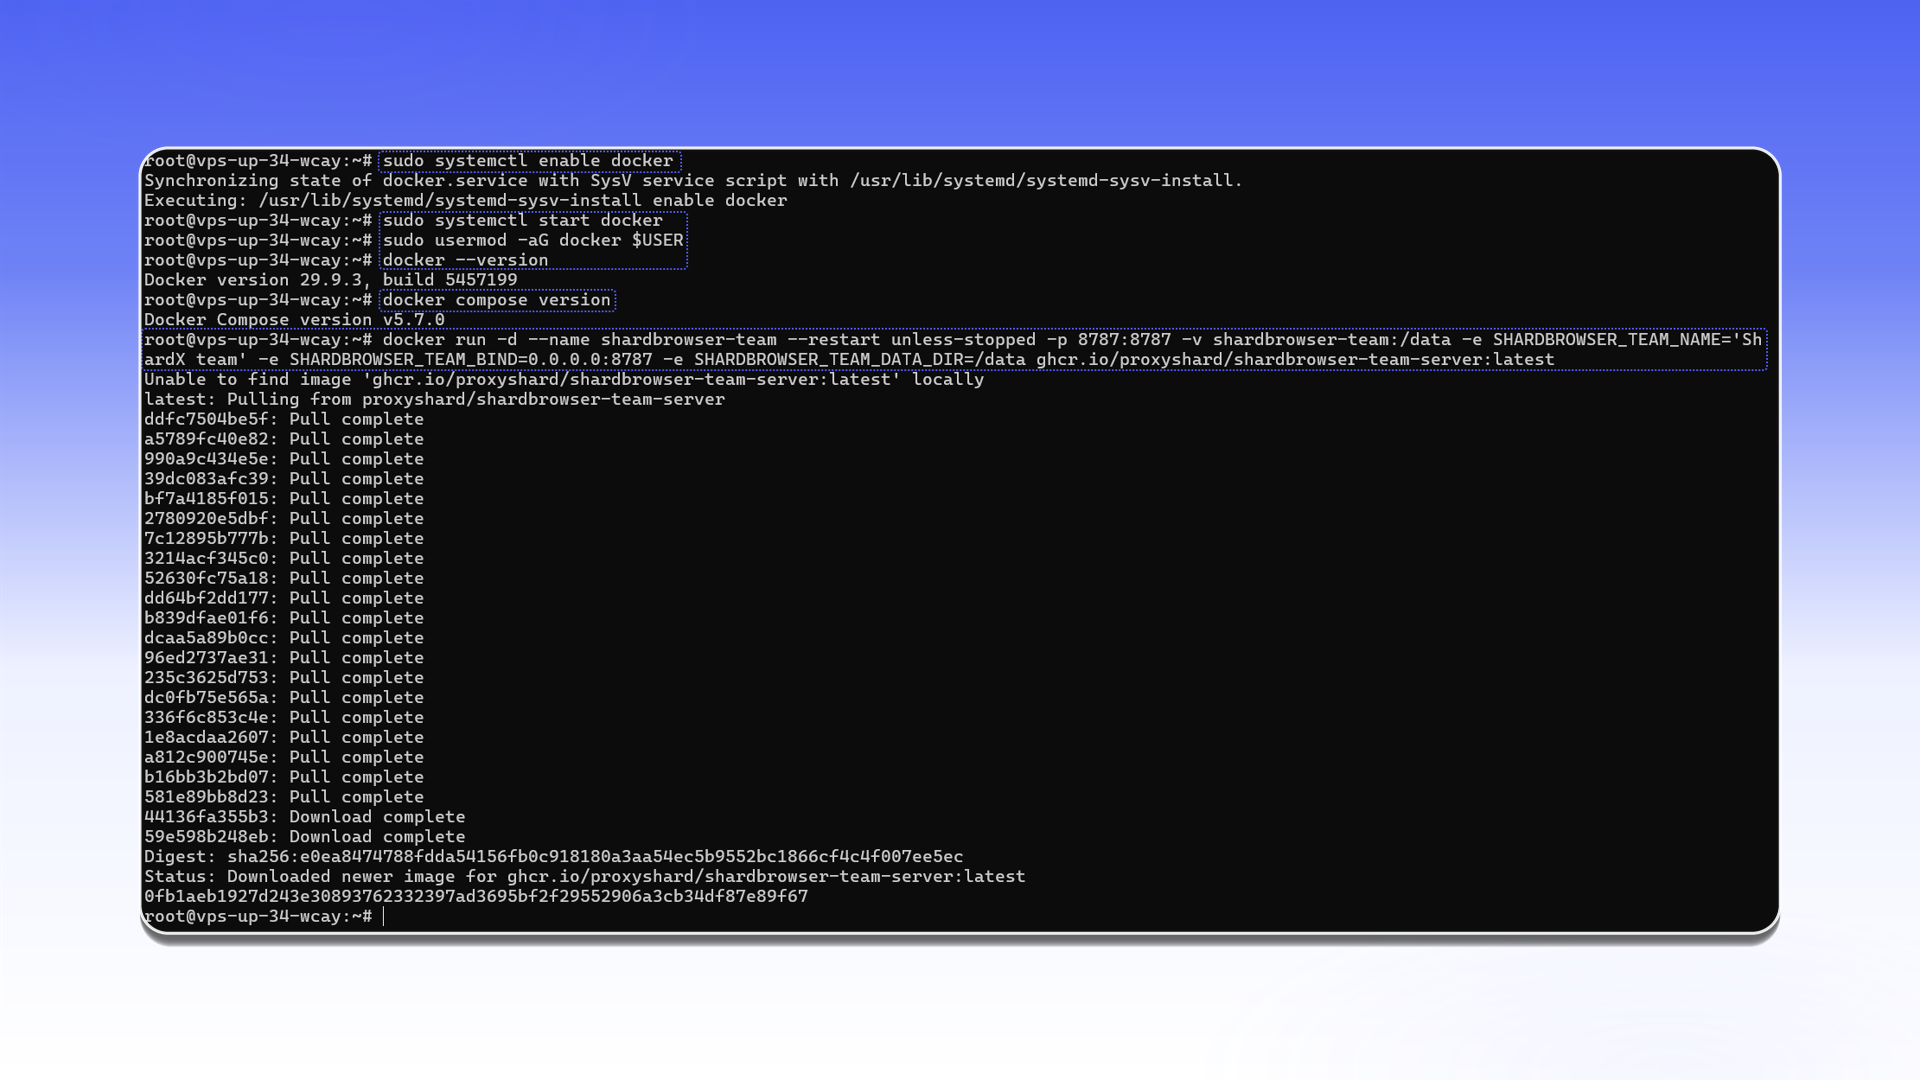
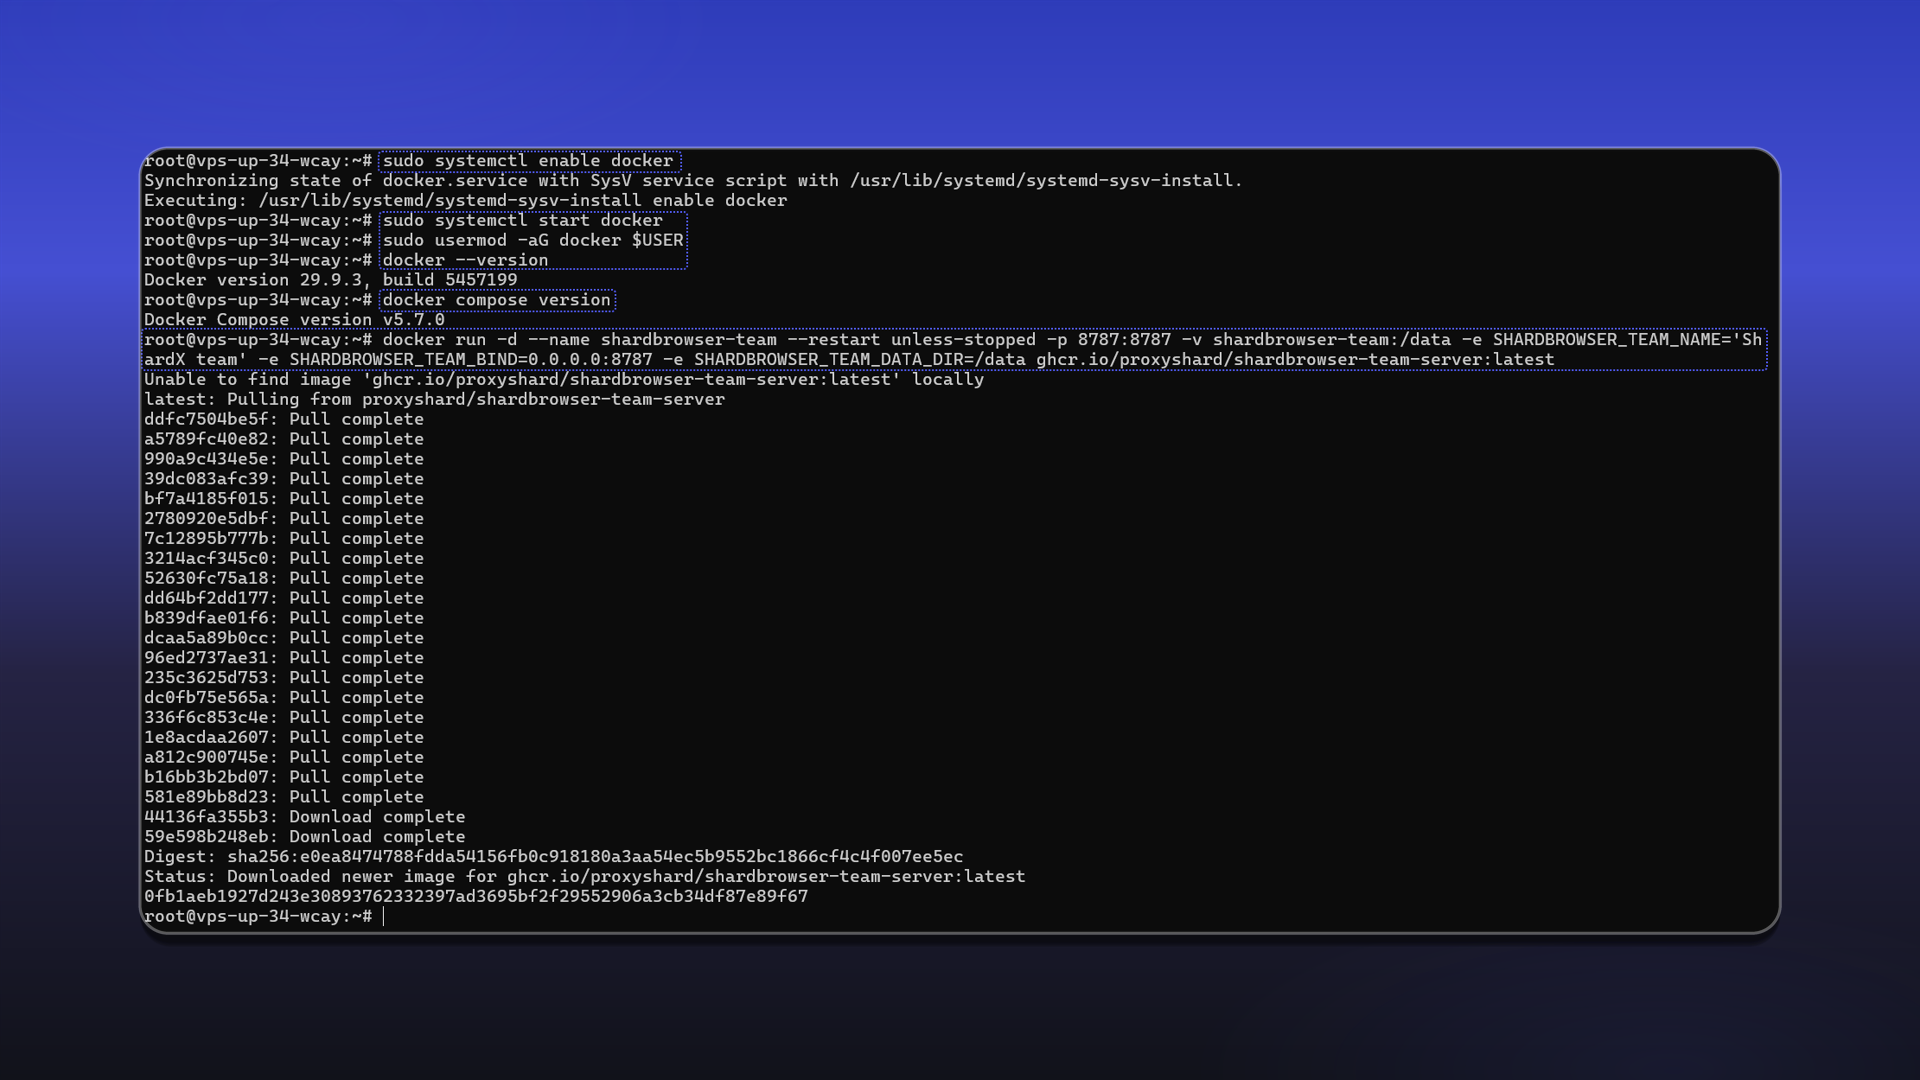
On its first start, the server prints the admin token to the log once. View it with:
docker logs shardbrowser-teamCopy the admin token value. The log also contains an invite (a link with the same token; replace 0.0.0.0 with the server address) and the public key that launchers use to verify the server.
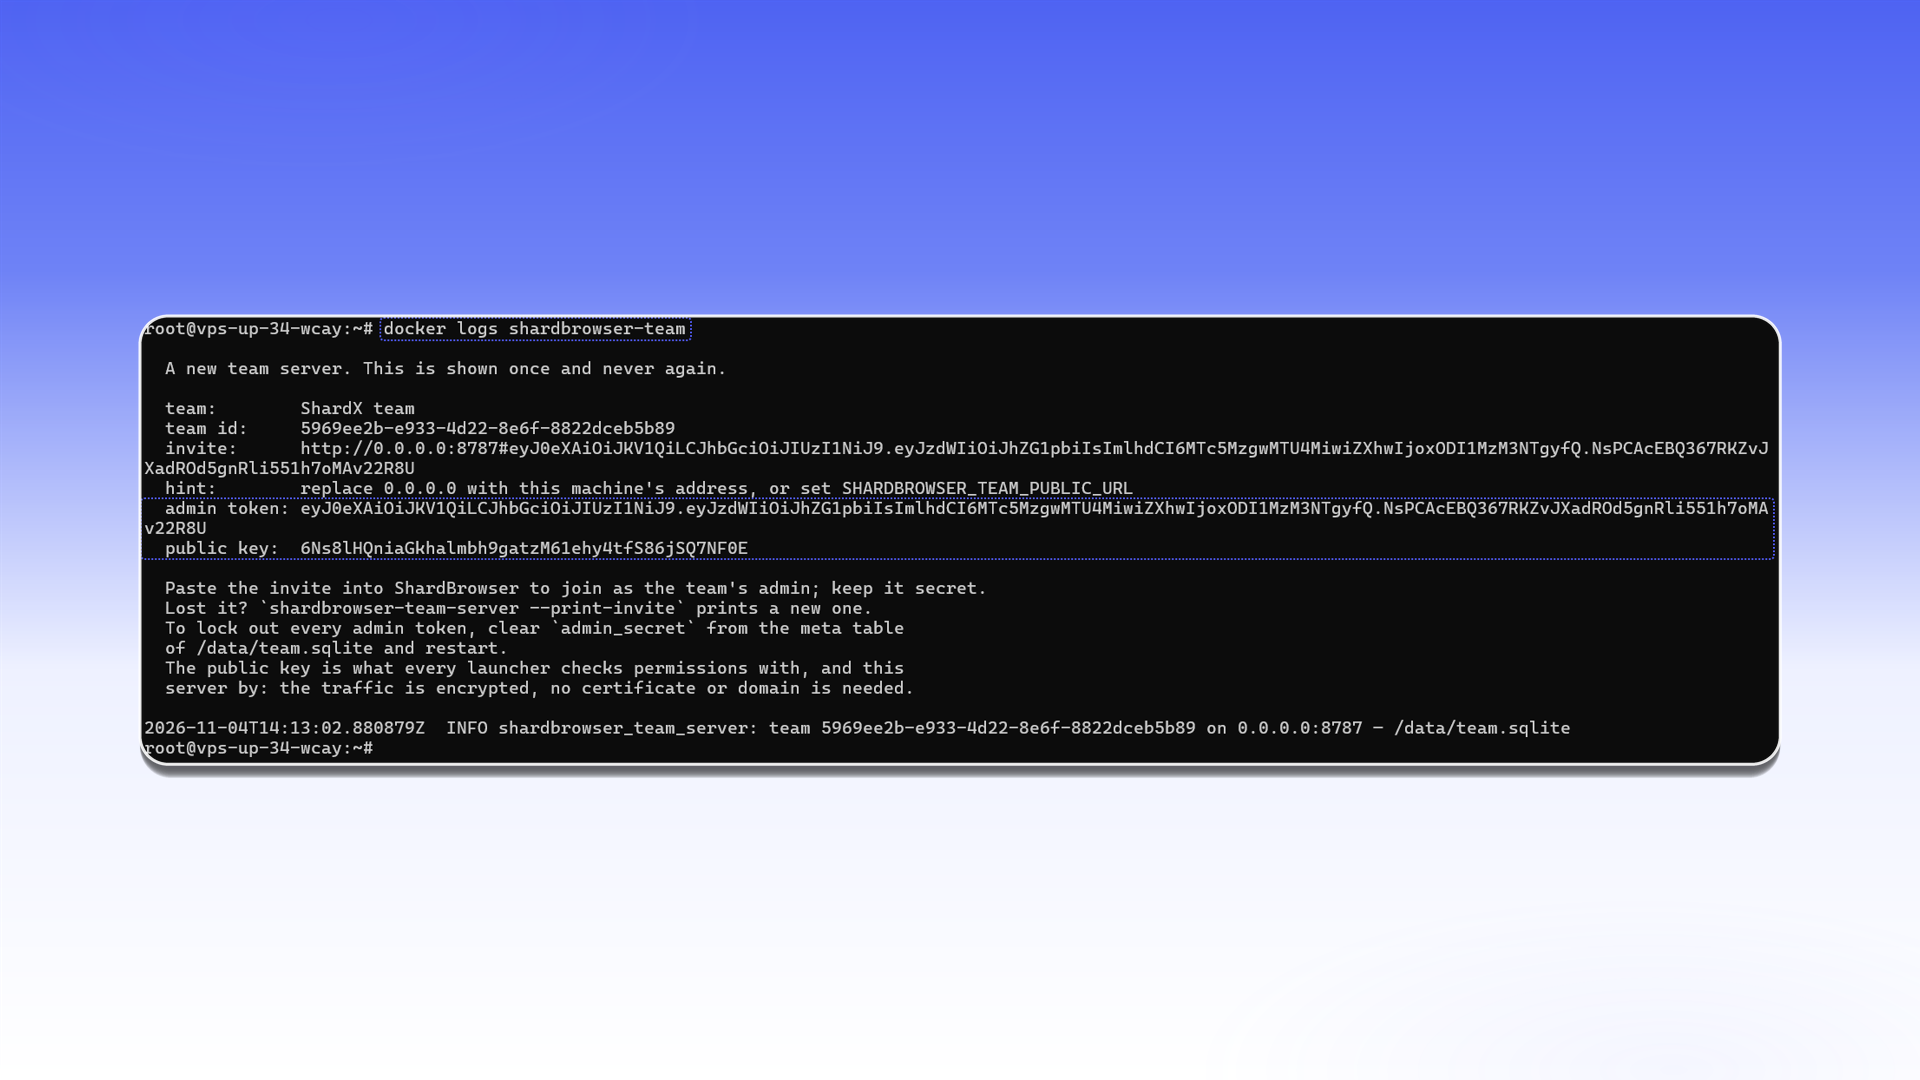
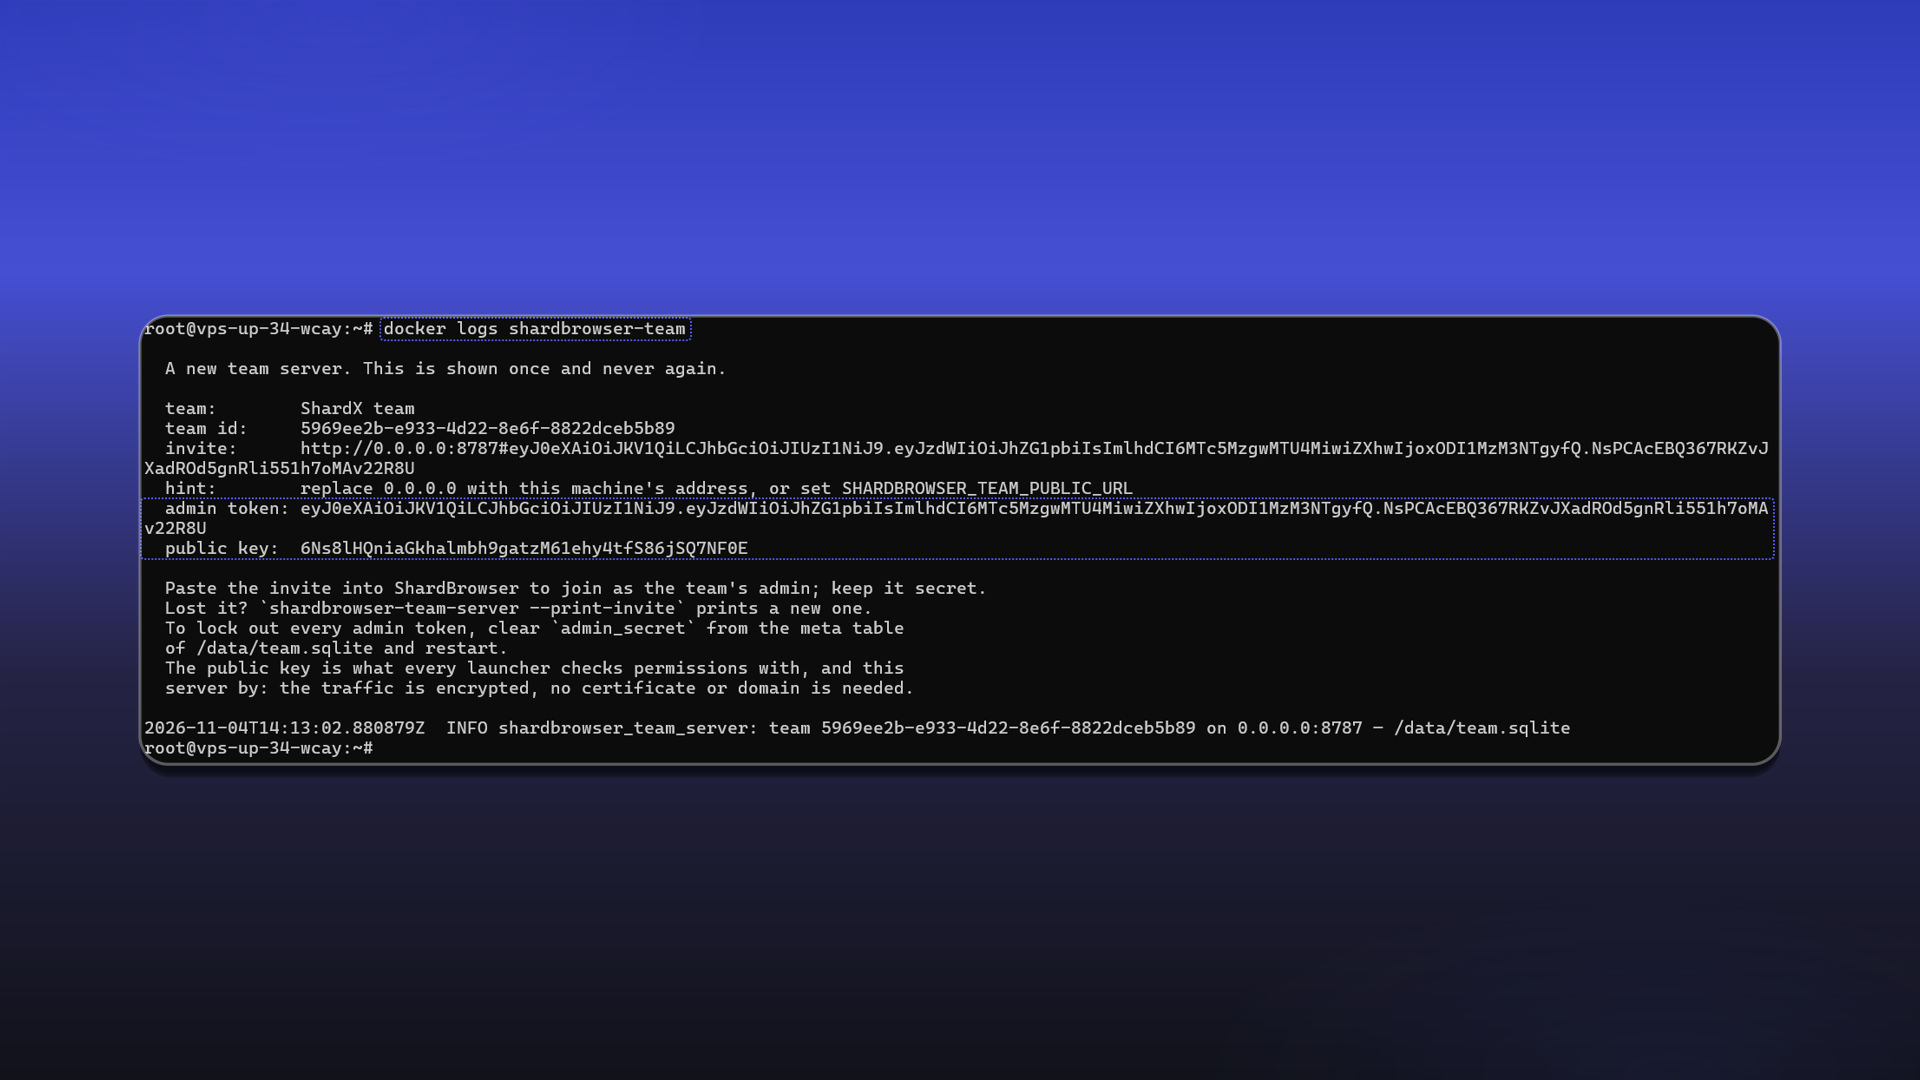
The admin token is shown only on the first start and gives full access to the team. Keep it somewhere safe and never share it. If the token is lost, the shardbrowser-team-server --print-invite command prints a new one.
Joining the team as admin
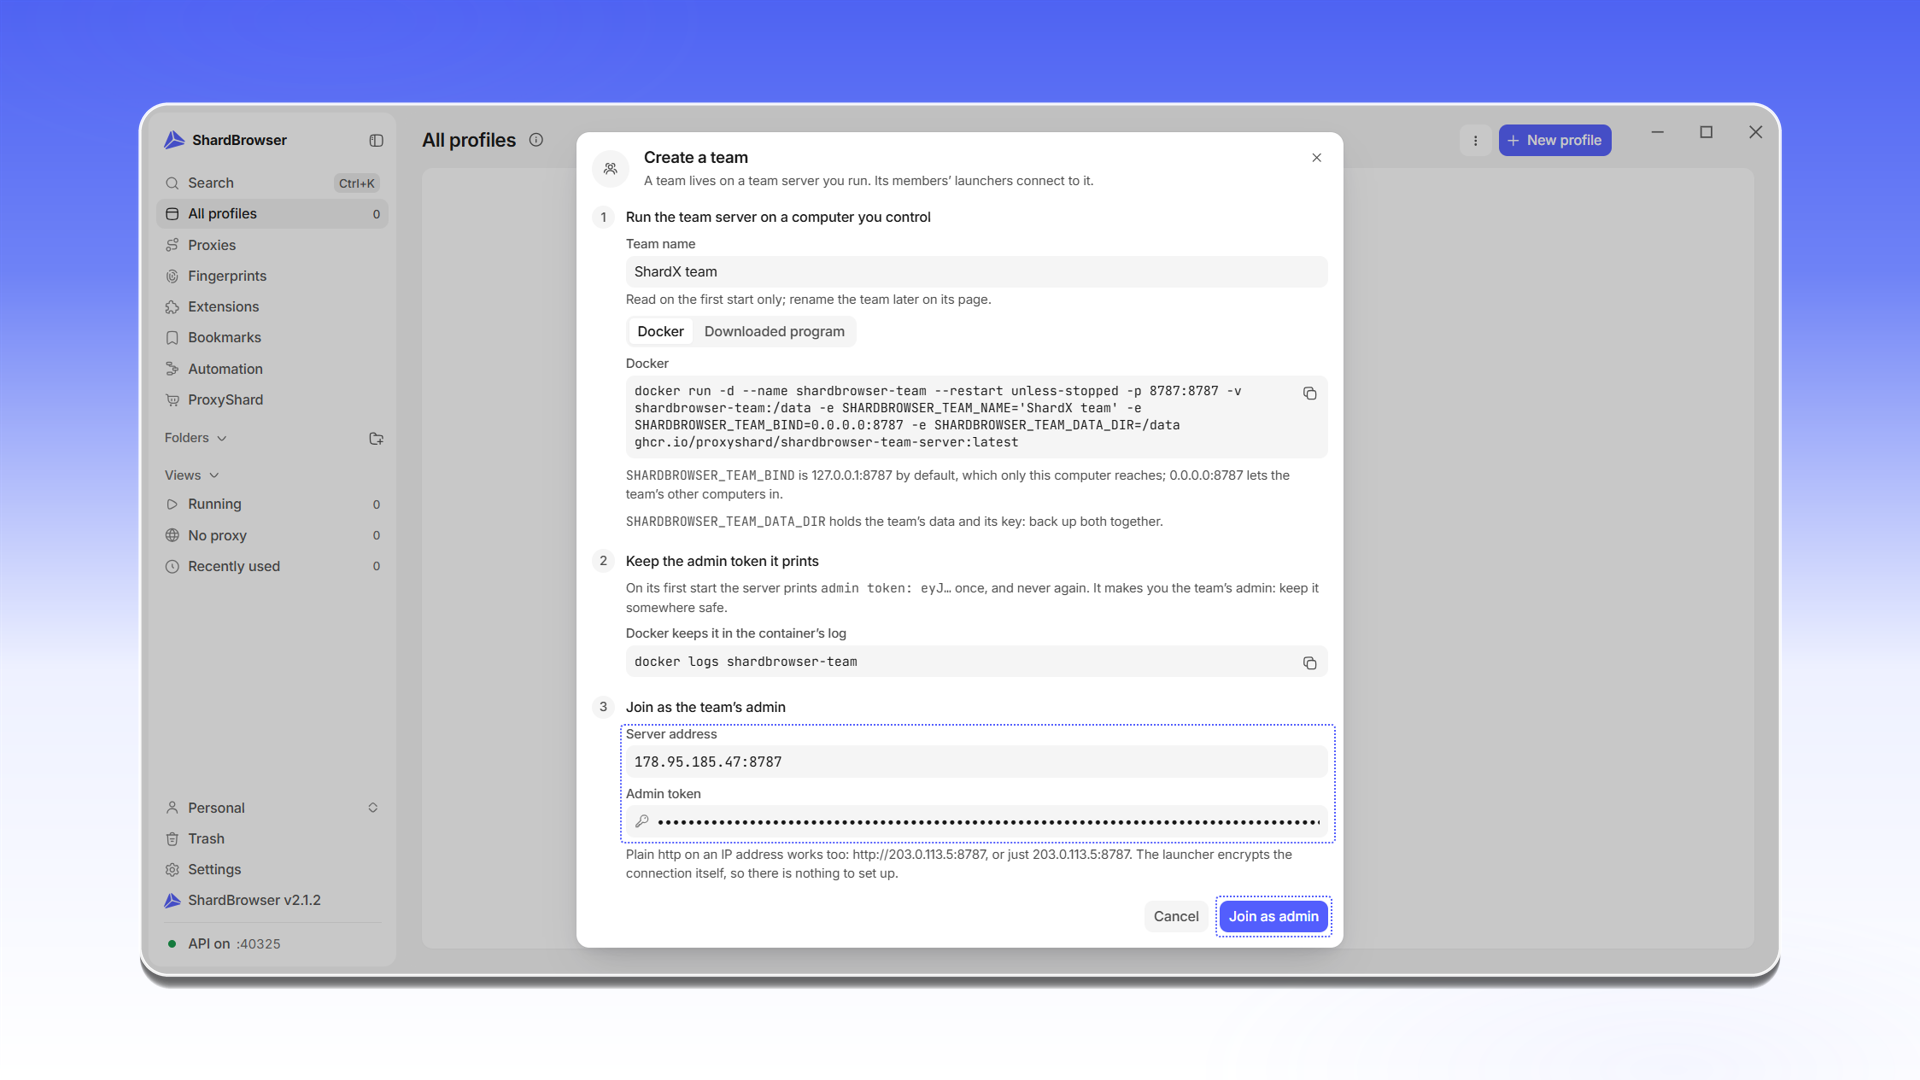
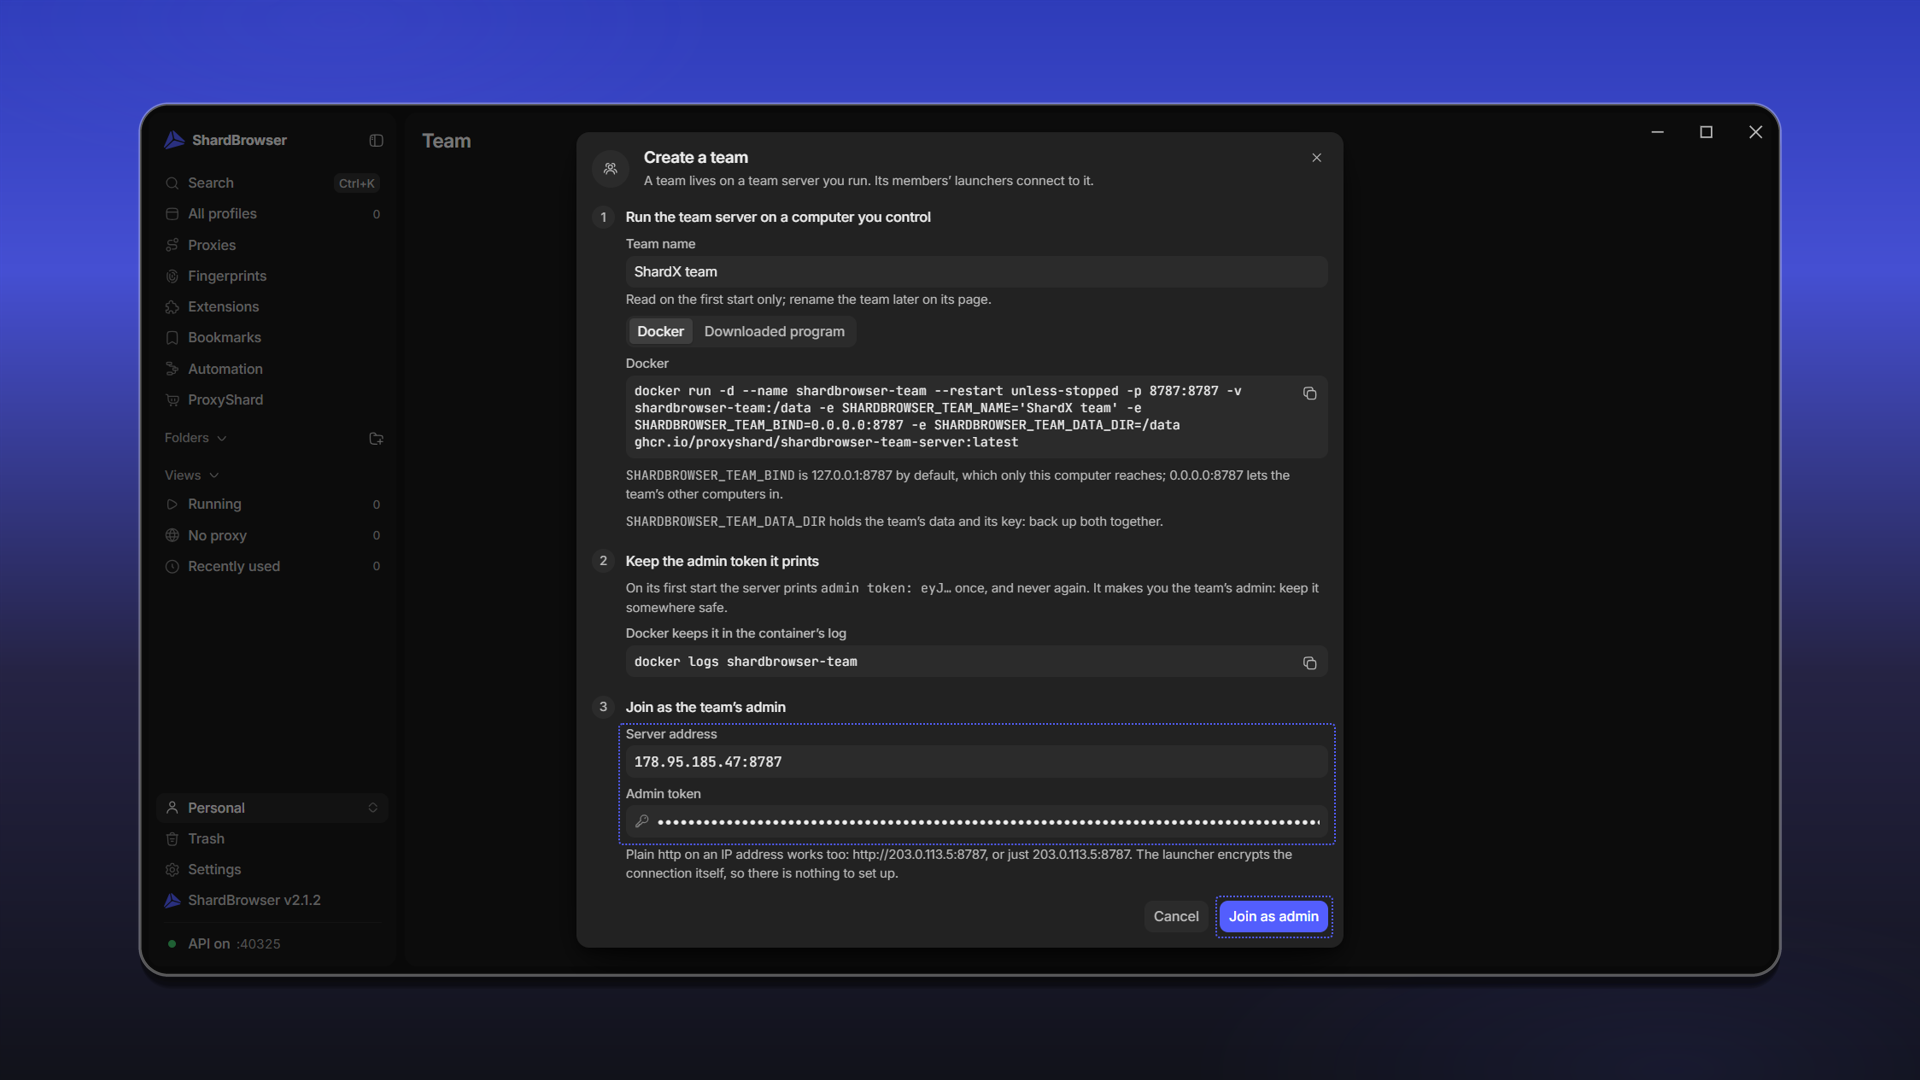
In the Create a team window, in the Join as the team's admin block, fill in the fields:
- Server address - the server's IP address and port, for example
203.0.113.5:8787orhttp://203.0.113.5:8787. No domain or certificate is needed: the launcher encrypts the connection itself. - Admin token - the token from the container log.
Click Join as admin.
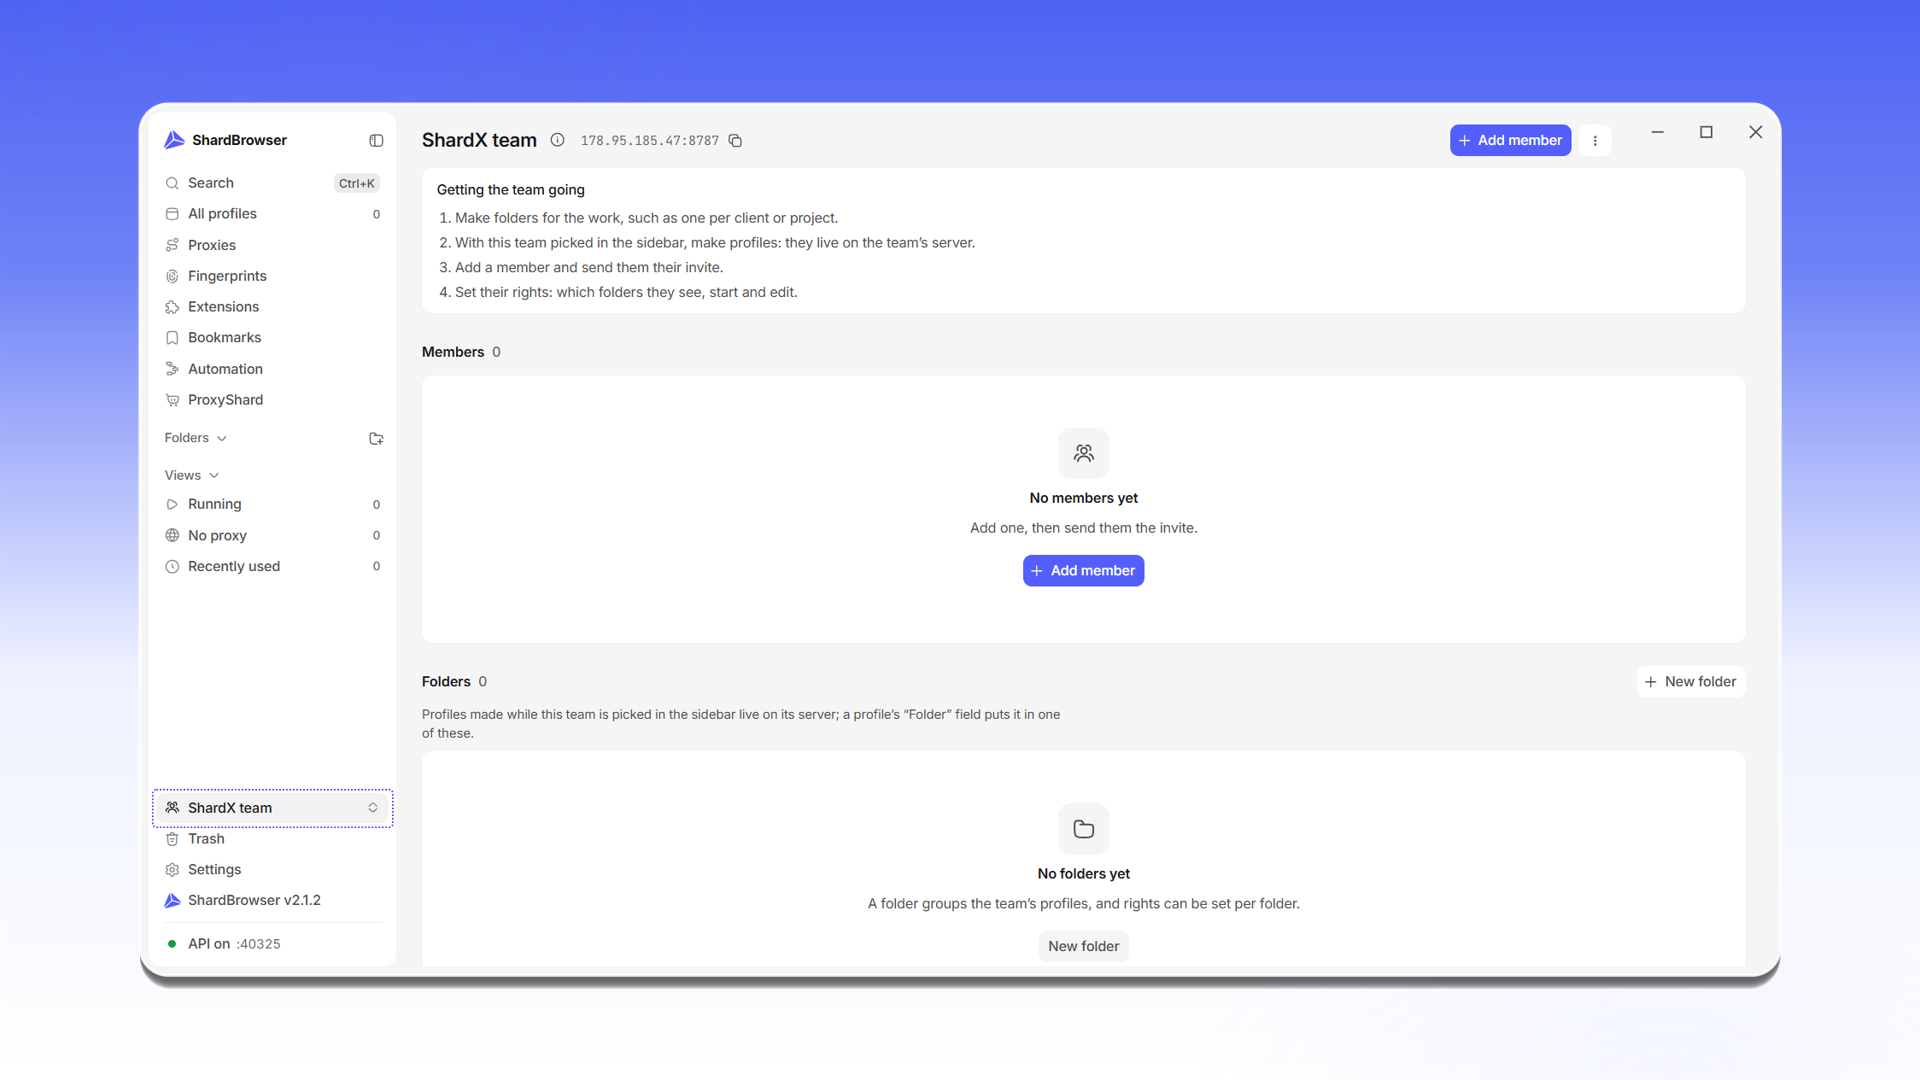
The team page opens. Your team is now selected in the switcher at the bottom left. Profiles created in this mode are stored on the team server. The Getting the team going block shows the order of steps: create folders, create profiles, add members and give them rights.
Adding a member
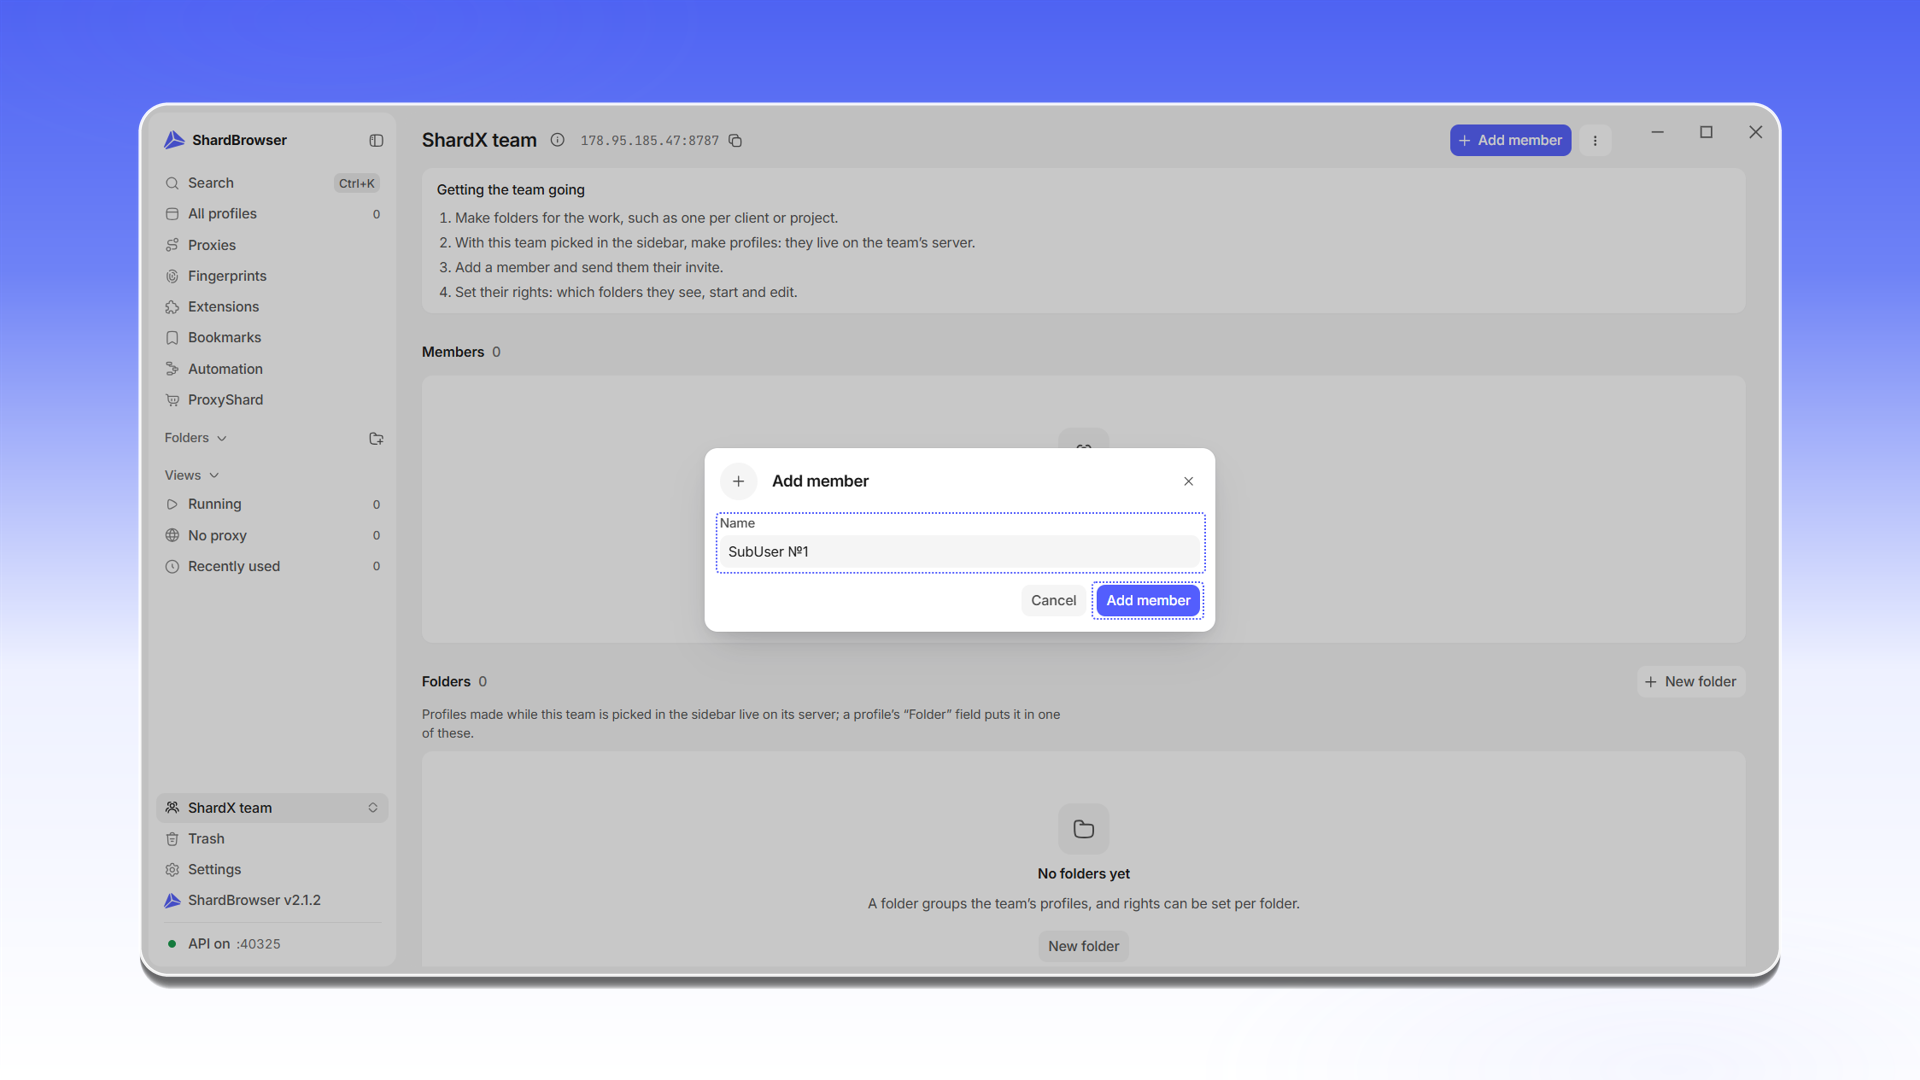
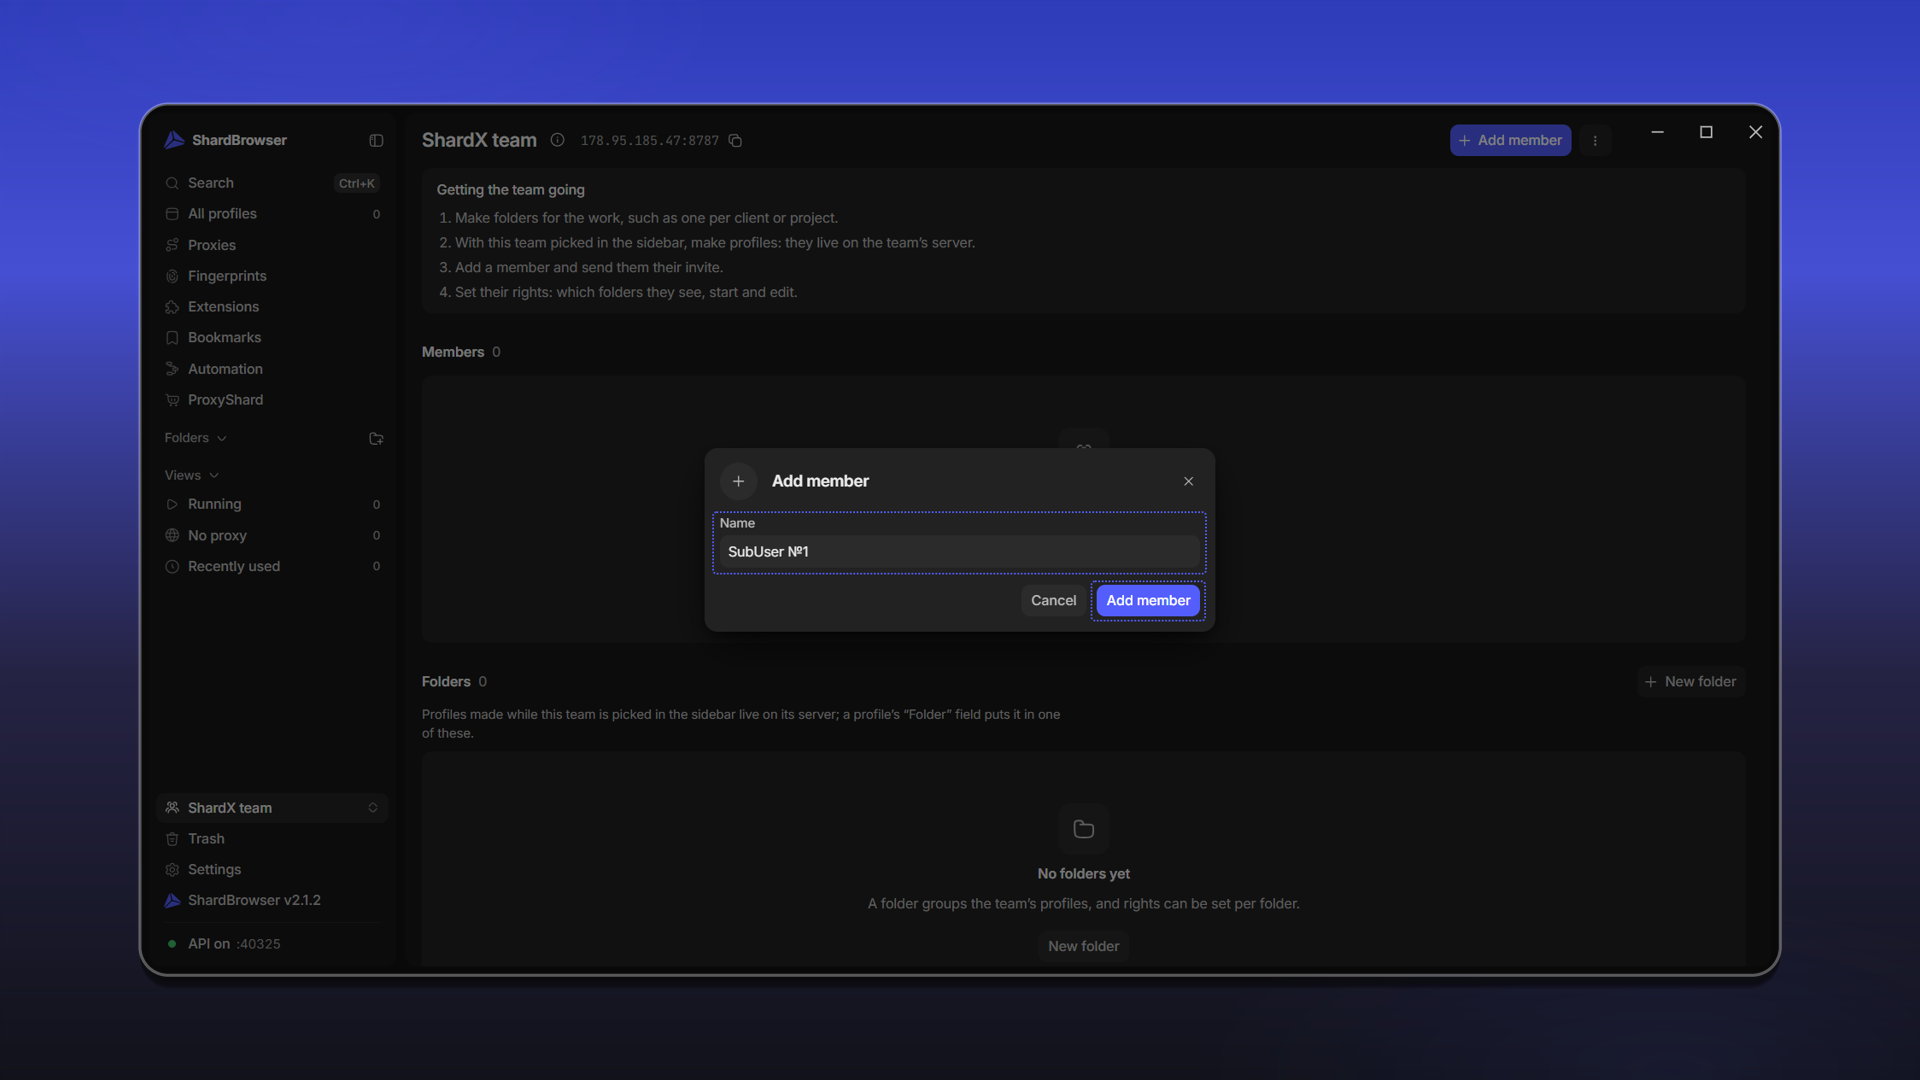
Click + Add member.
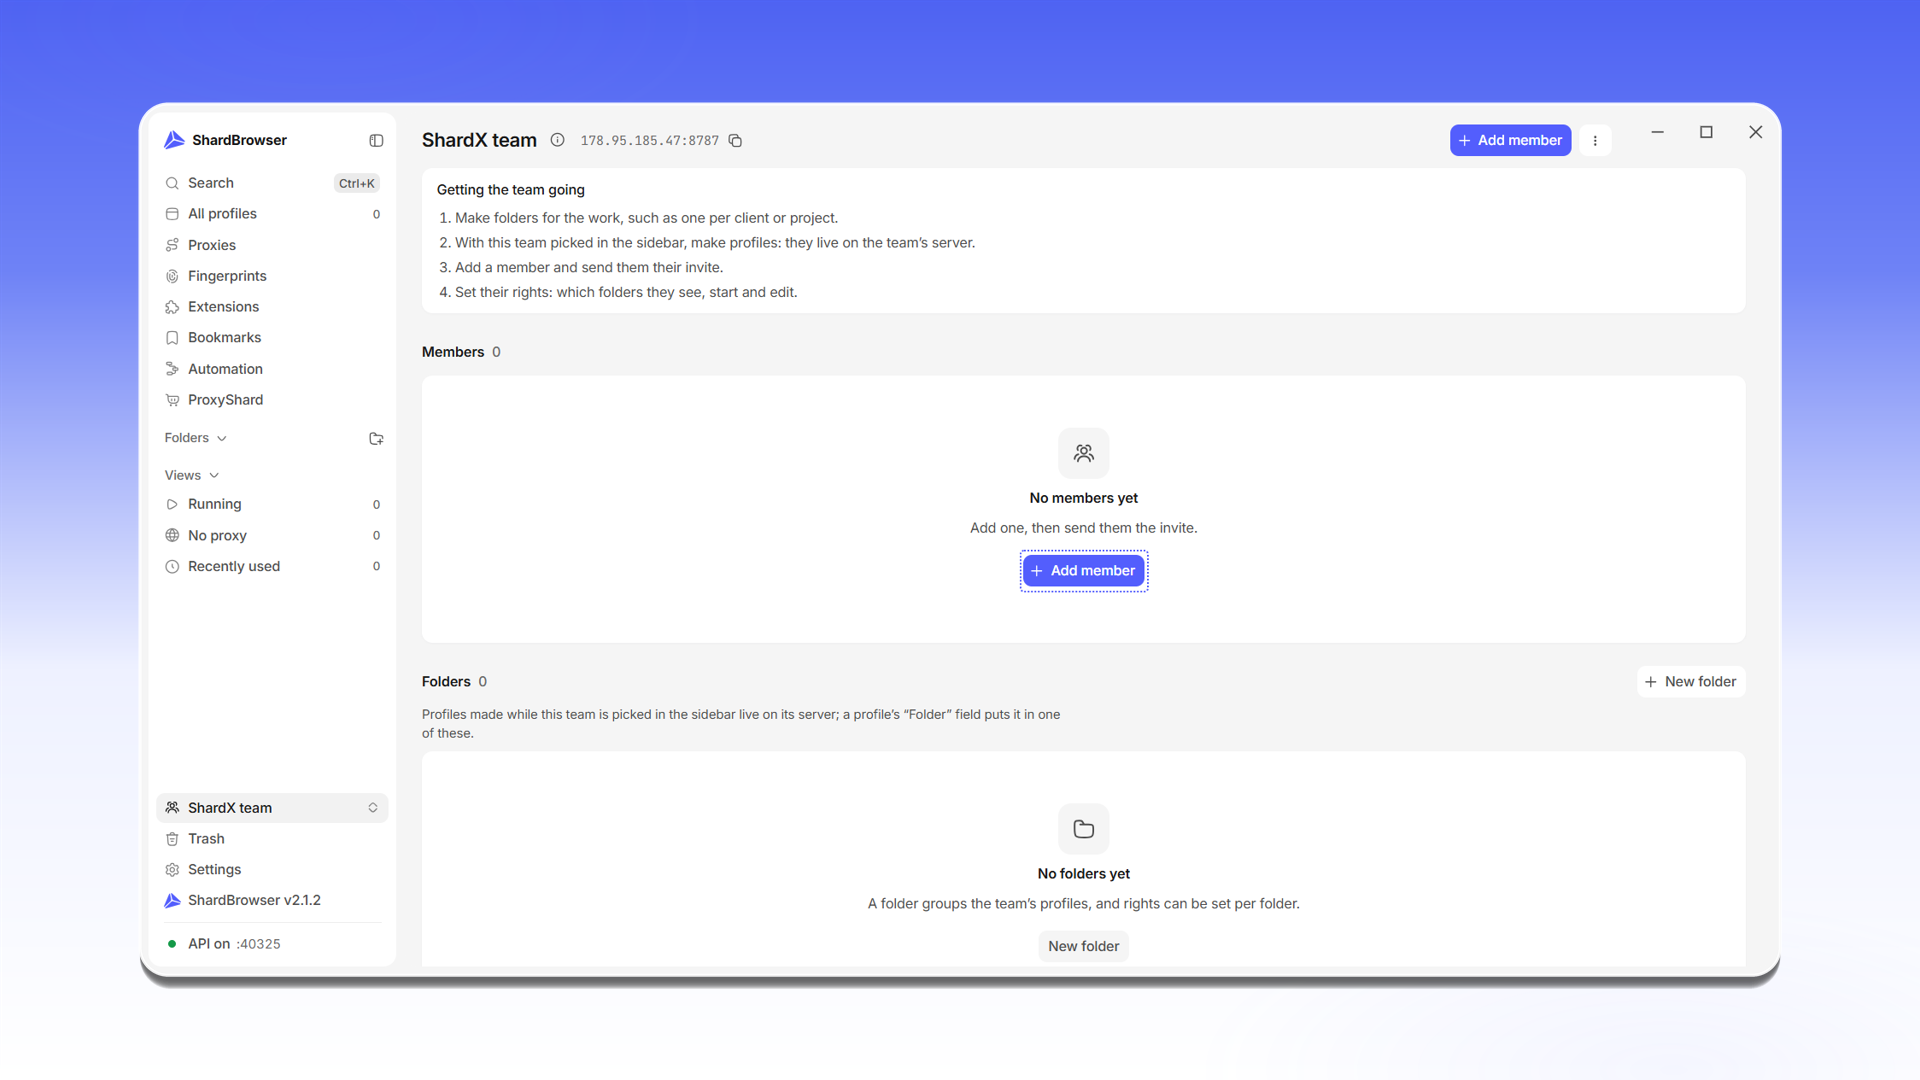
Enter the member's name and click Add member.
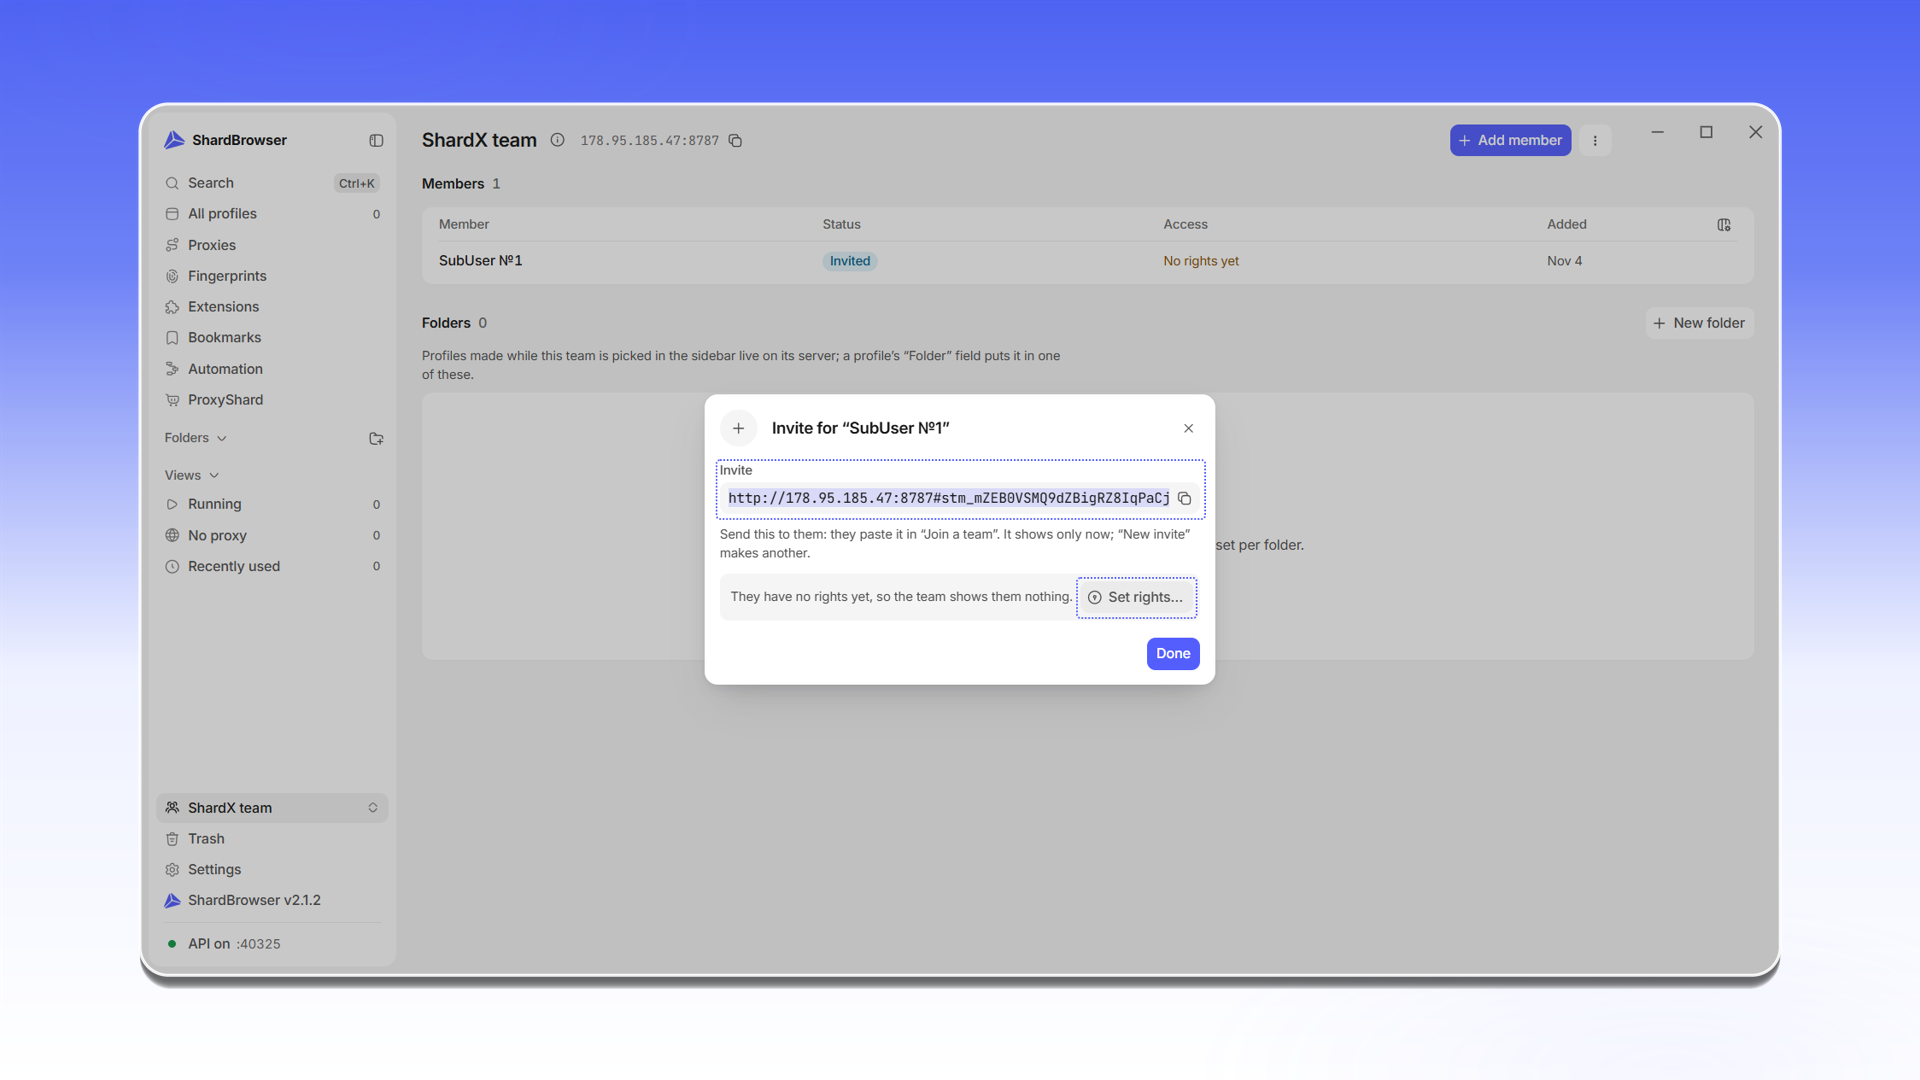
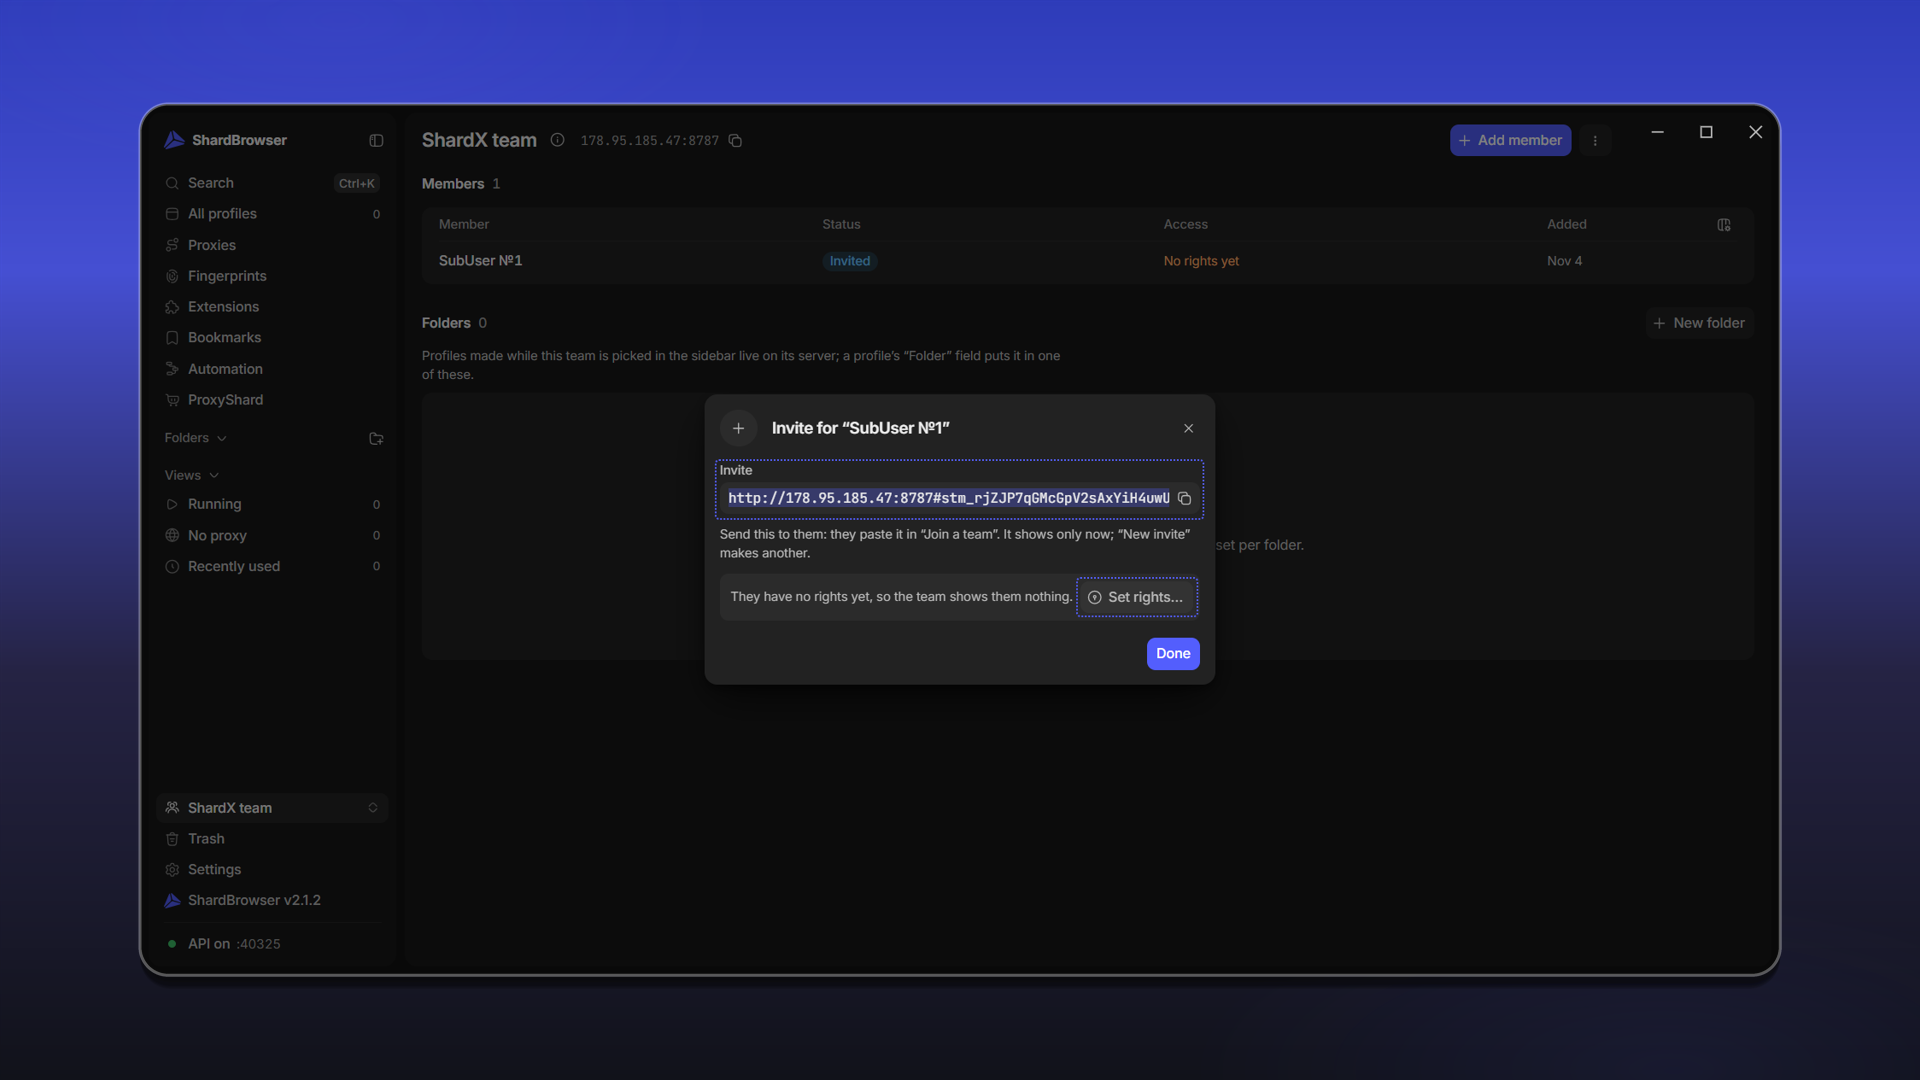
An invite for the member appears. Copy it and send it to the member: they will paste it in the Join a team window. The invite is shown only once; you can create a new one with New invite... in the member's menu.
Until the member has rights, the team is empty for them. Click Set rights... to give access right away.
Member rights
In the Rights window, rights are set in a table. Click a cell (or press Space) to switch it between not set, allowed (check mark) and refused (cross). When rules overlap, the narrowest one wins.
| Right | What it allows |
|---|---|
| See | See profiles |
| Start | Start profiles |
| Edit | Edit profiles |
| Create | Create profiles |
| Delete | Delete profiles |
| Cookies | Work with profile cookies |
| Take out | Take profiles out of the team |
For quick setup of the Whole team row there are presets: None, See only, Start, Edit and All but take out. Rights can also be set separately for each team folder. Click Save rights.
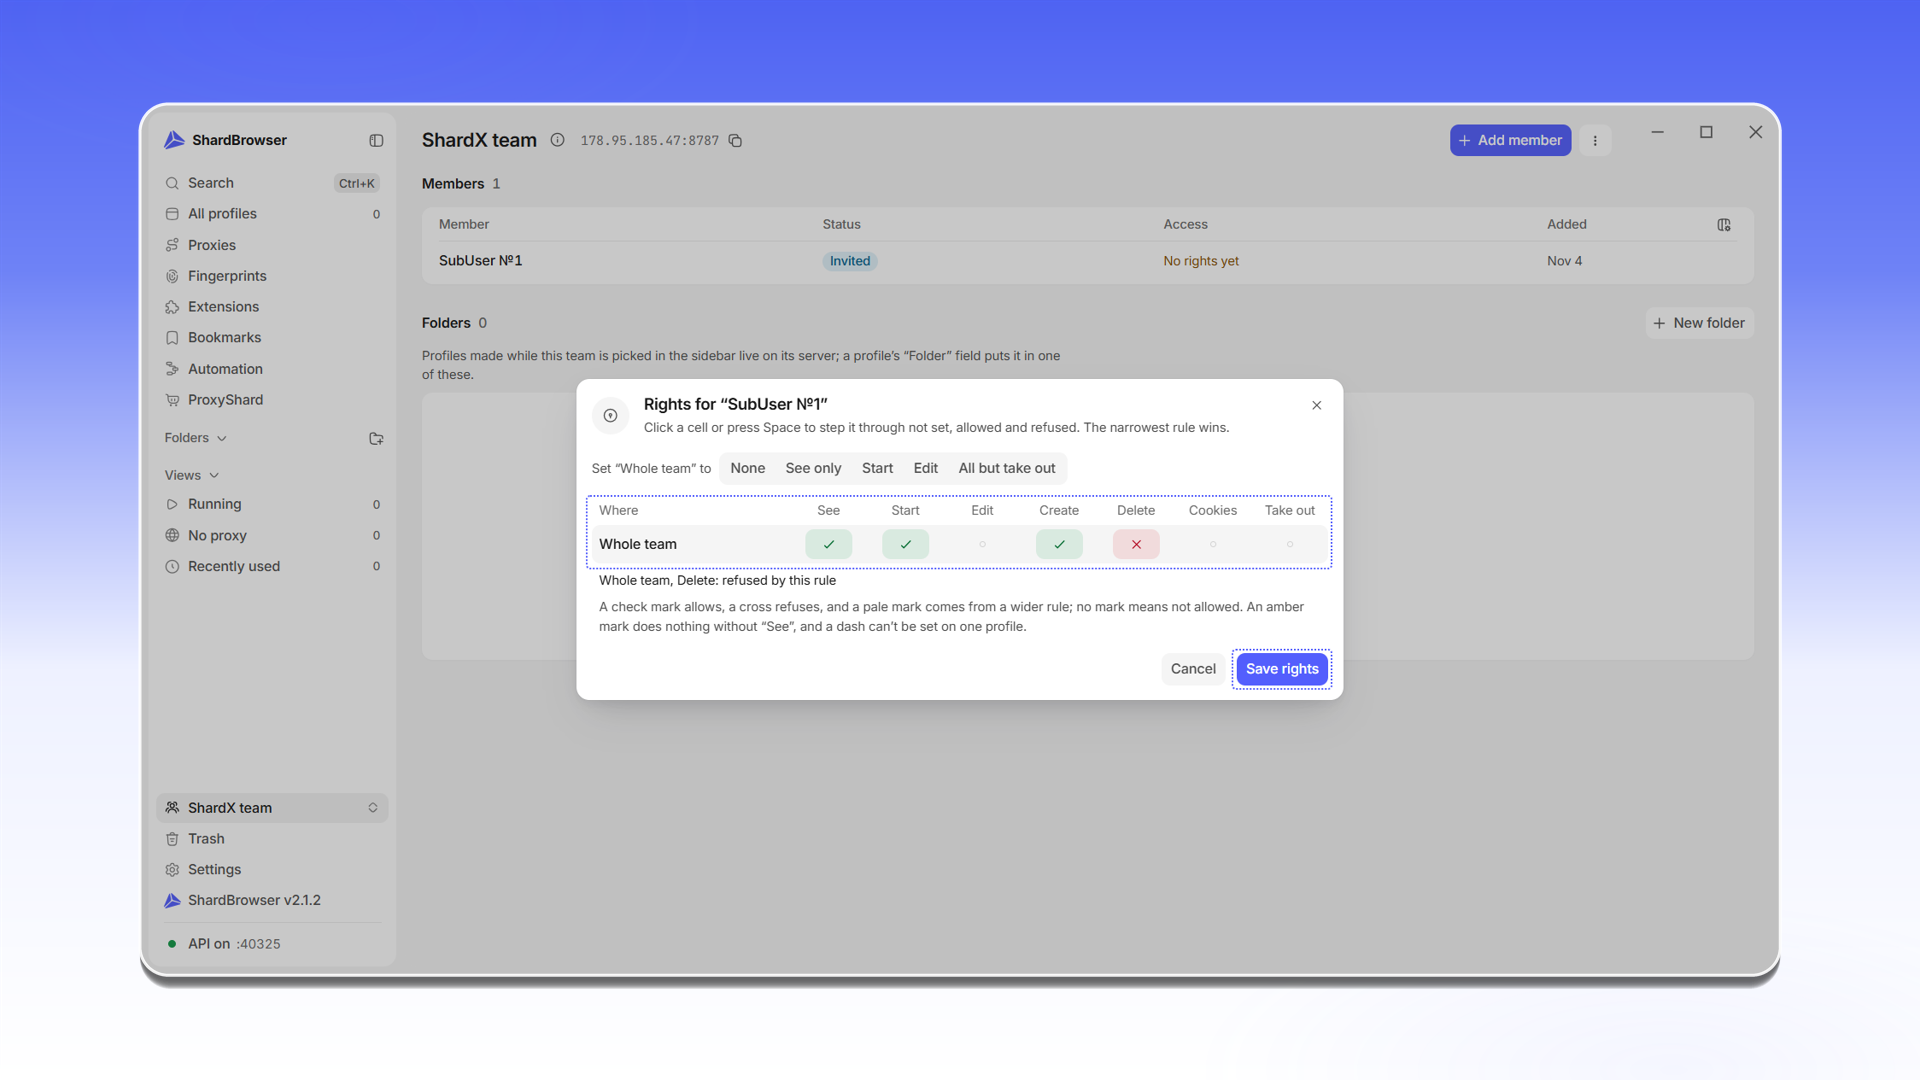
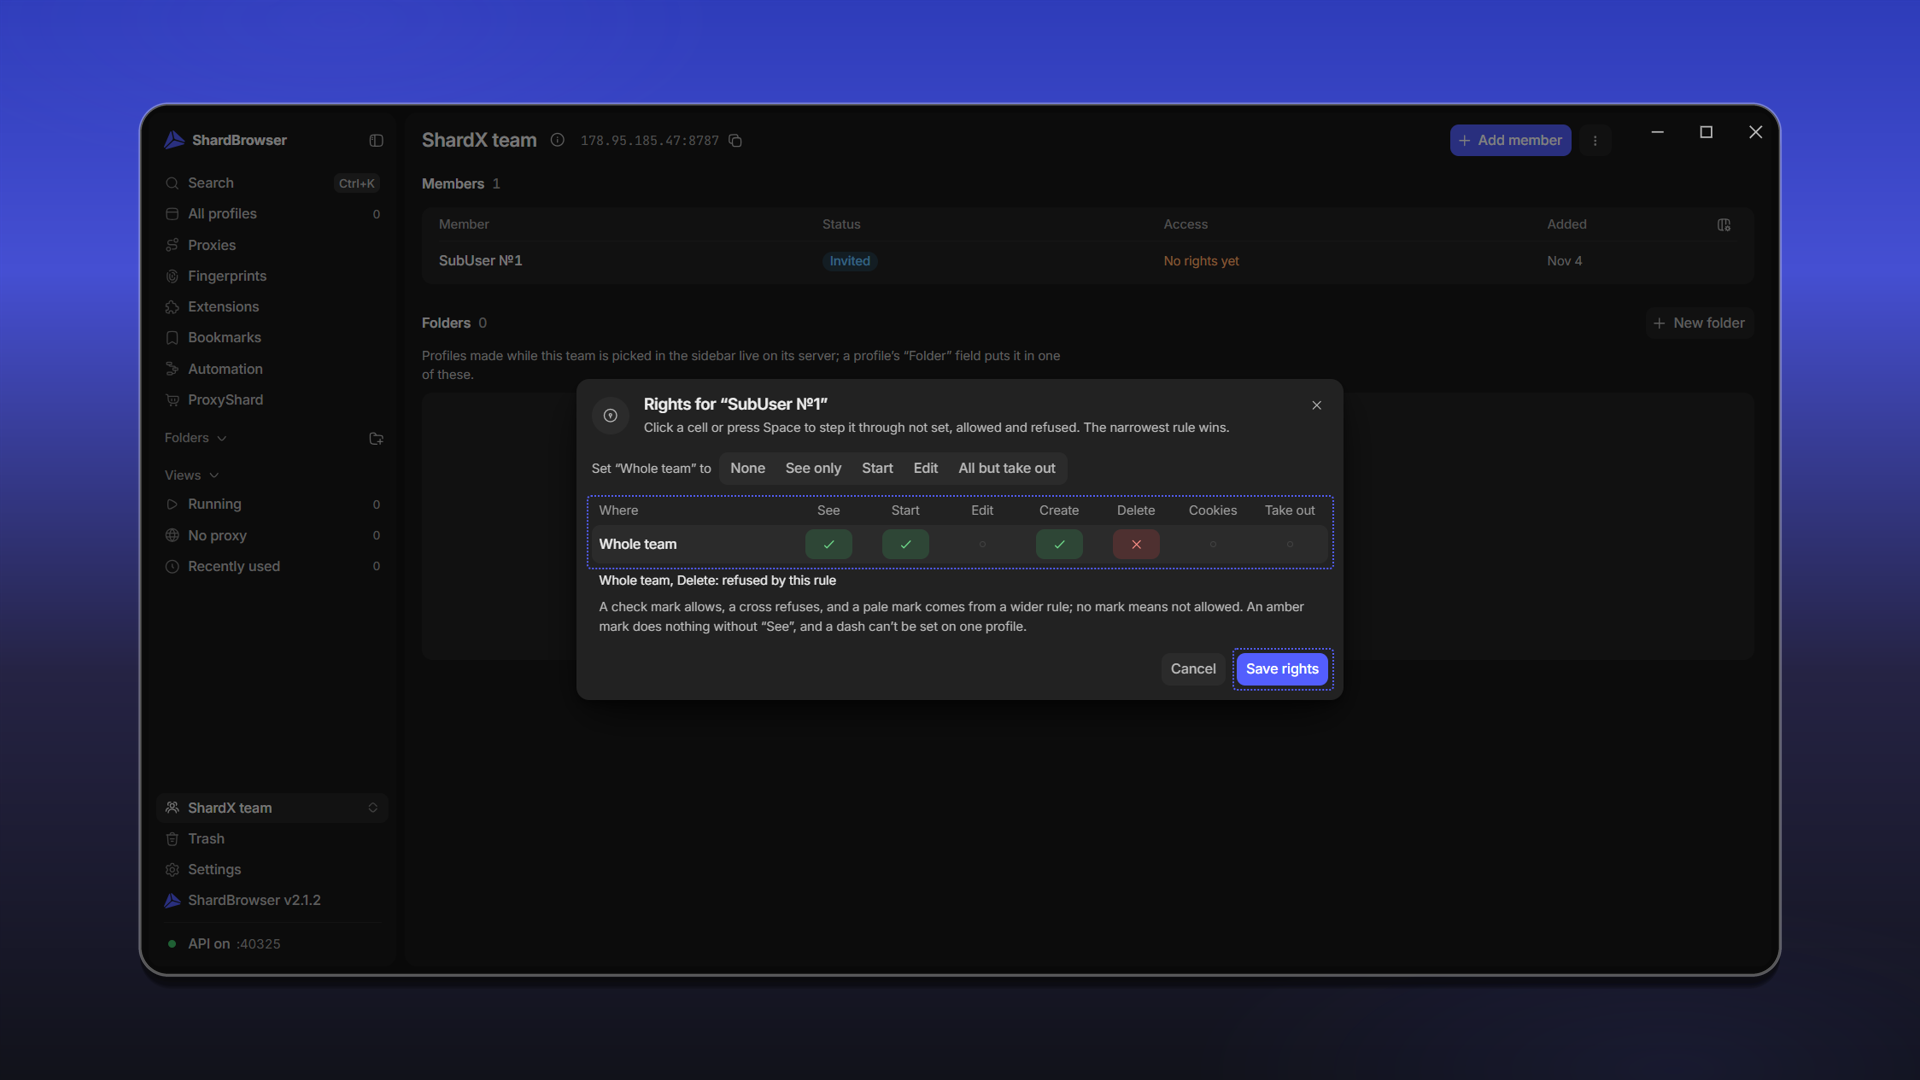
A right without See does nothing: a member can't start or edit a profile they can't see.
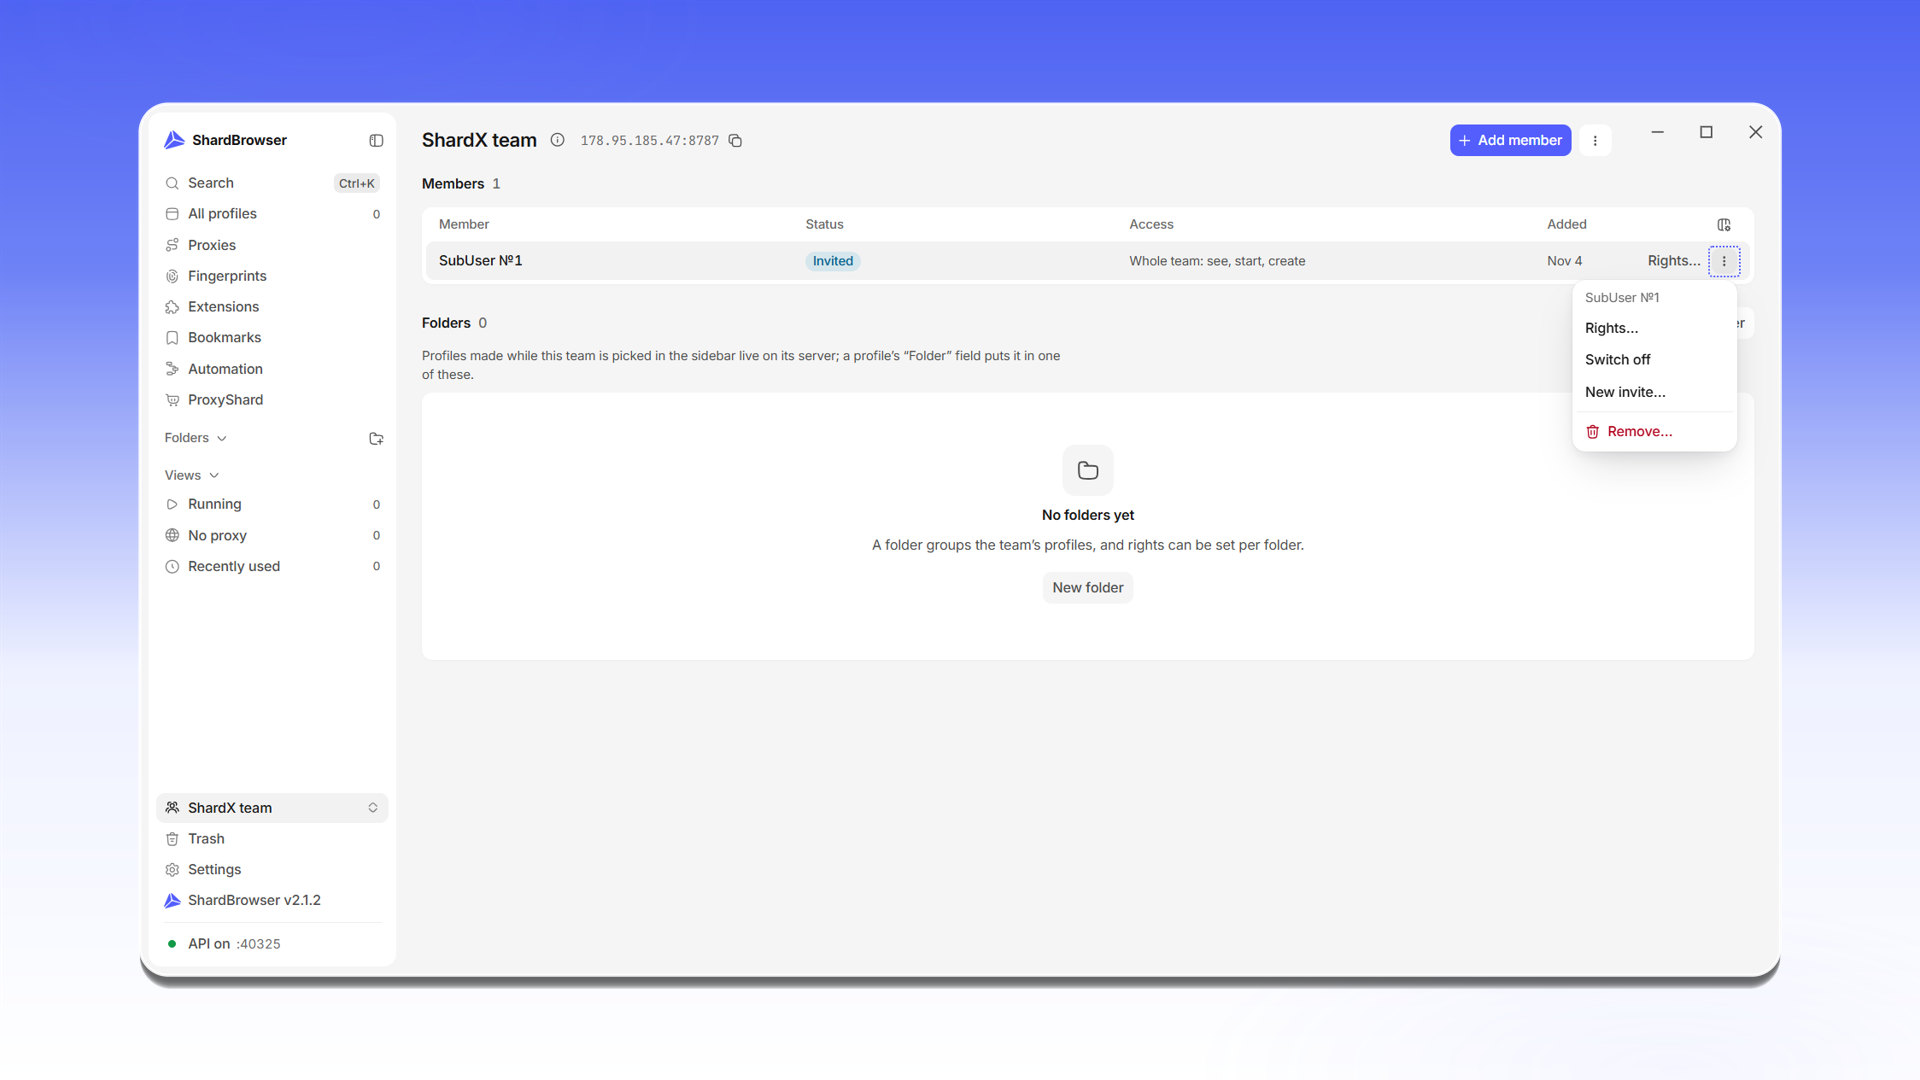
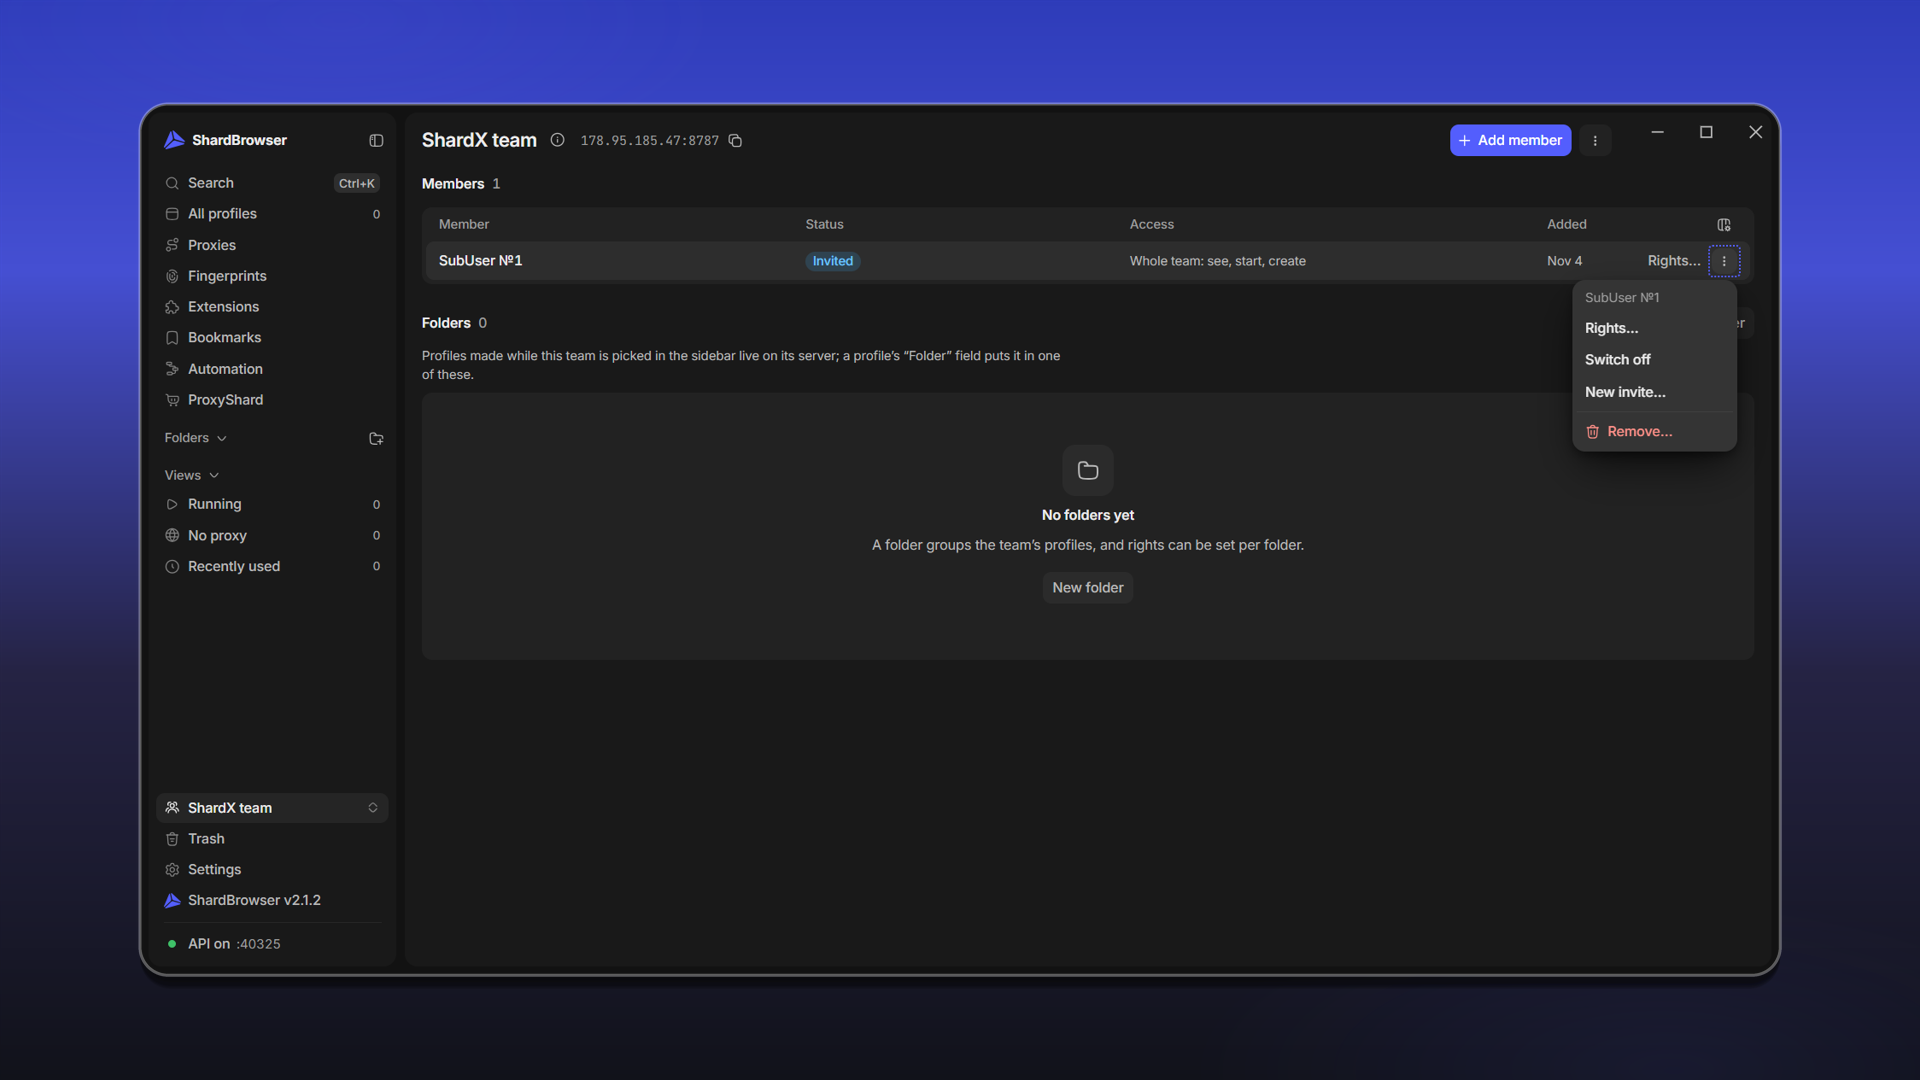
Granted rights are shown in the Access column. In the member's menu (⋮) you can change rights (Rights...), temporarily disable the member (Switch off), create a new invite (New invite...) or remove the member from the team (Remove...).
Team folders and profiles
Team folders are created with the + New folder button on the team page and appear in the side menu like regular folders. A new profile goes into the folder set in its Folder field.
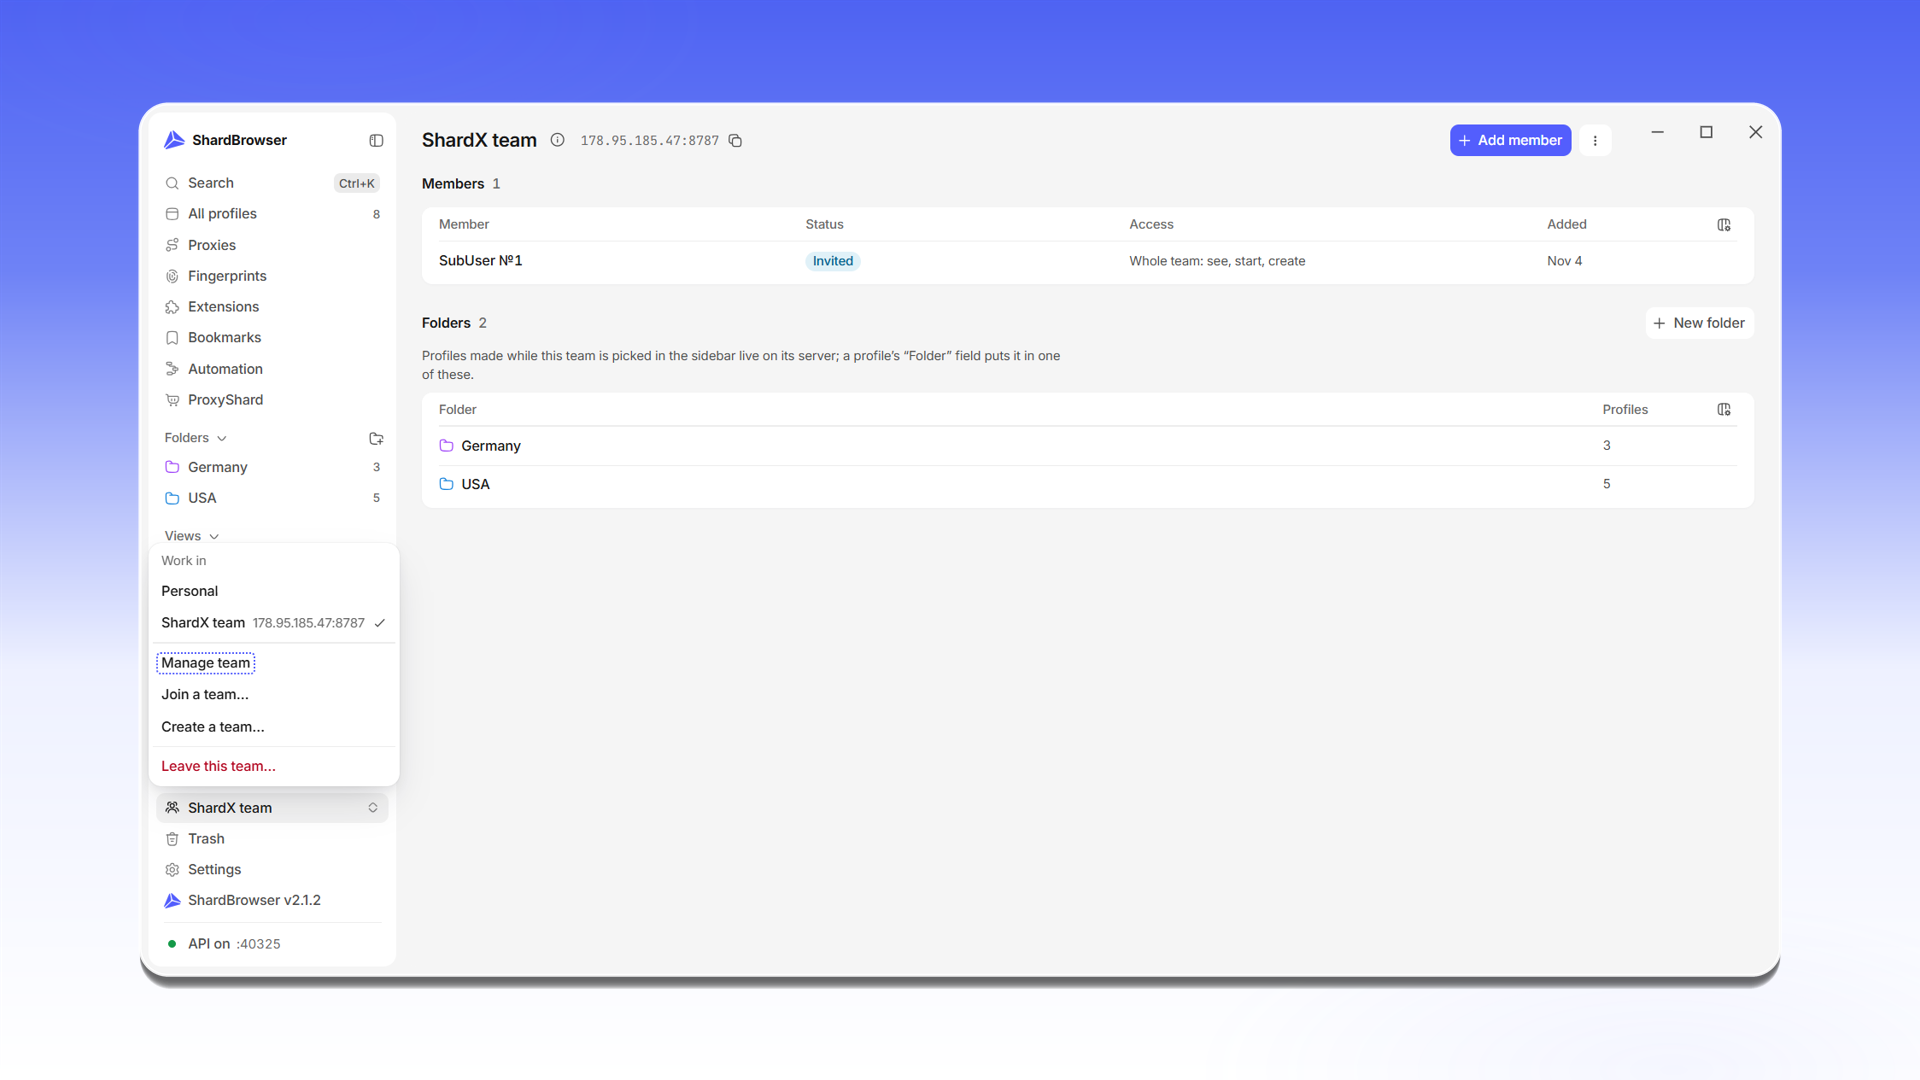
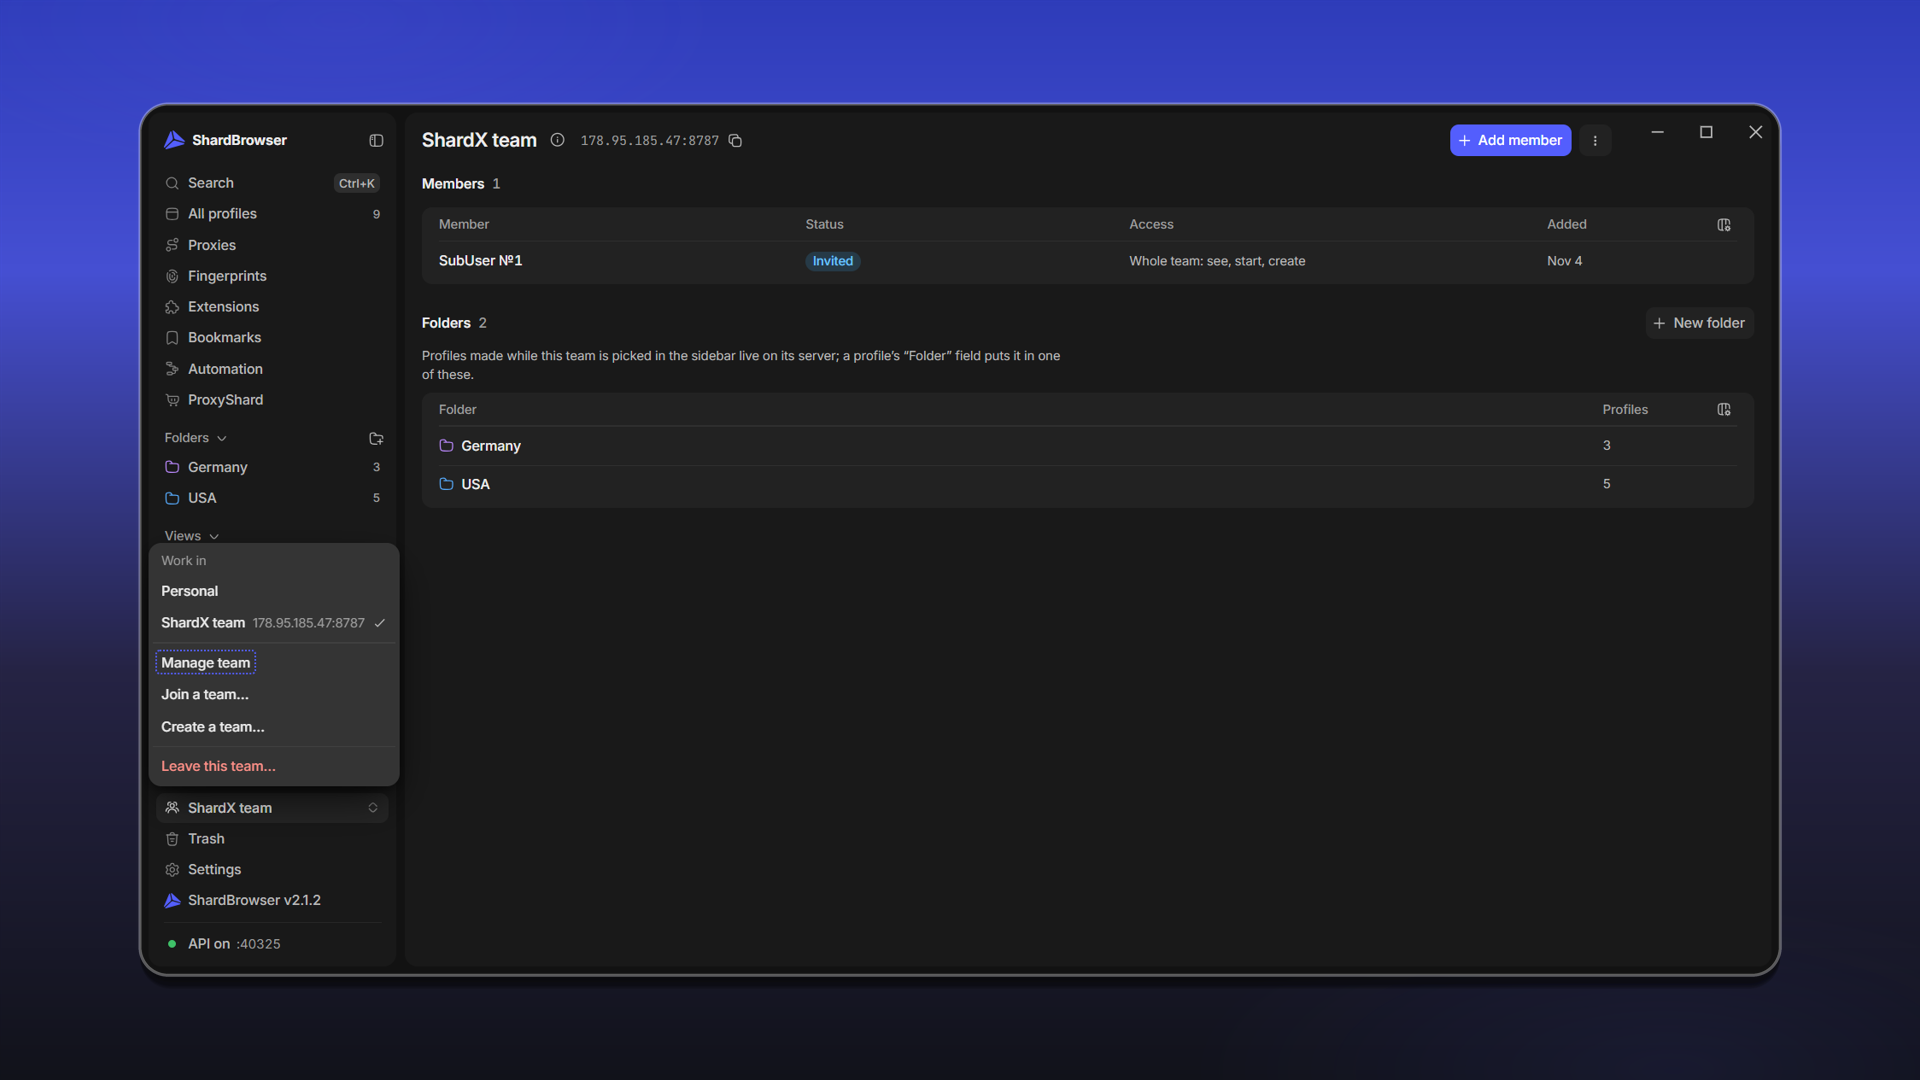
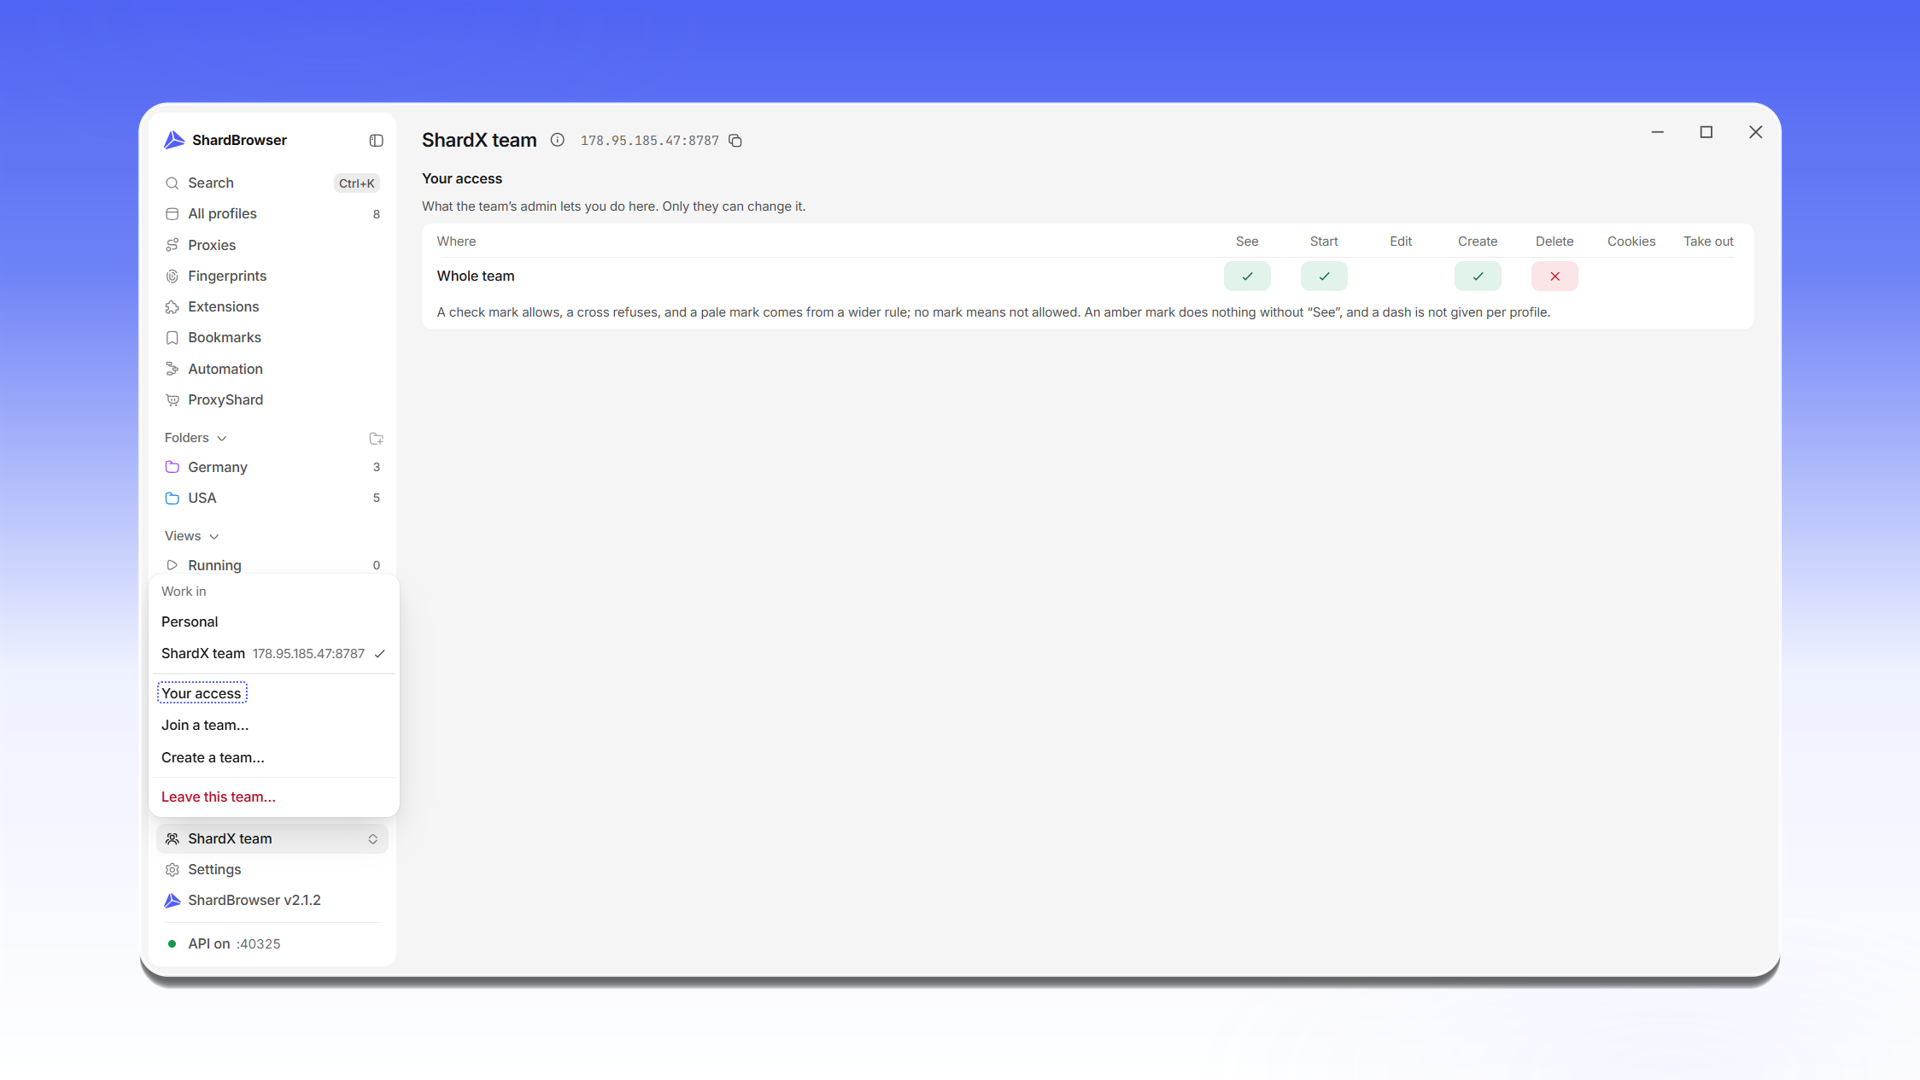
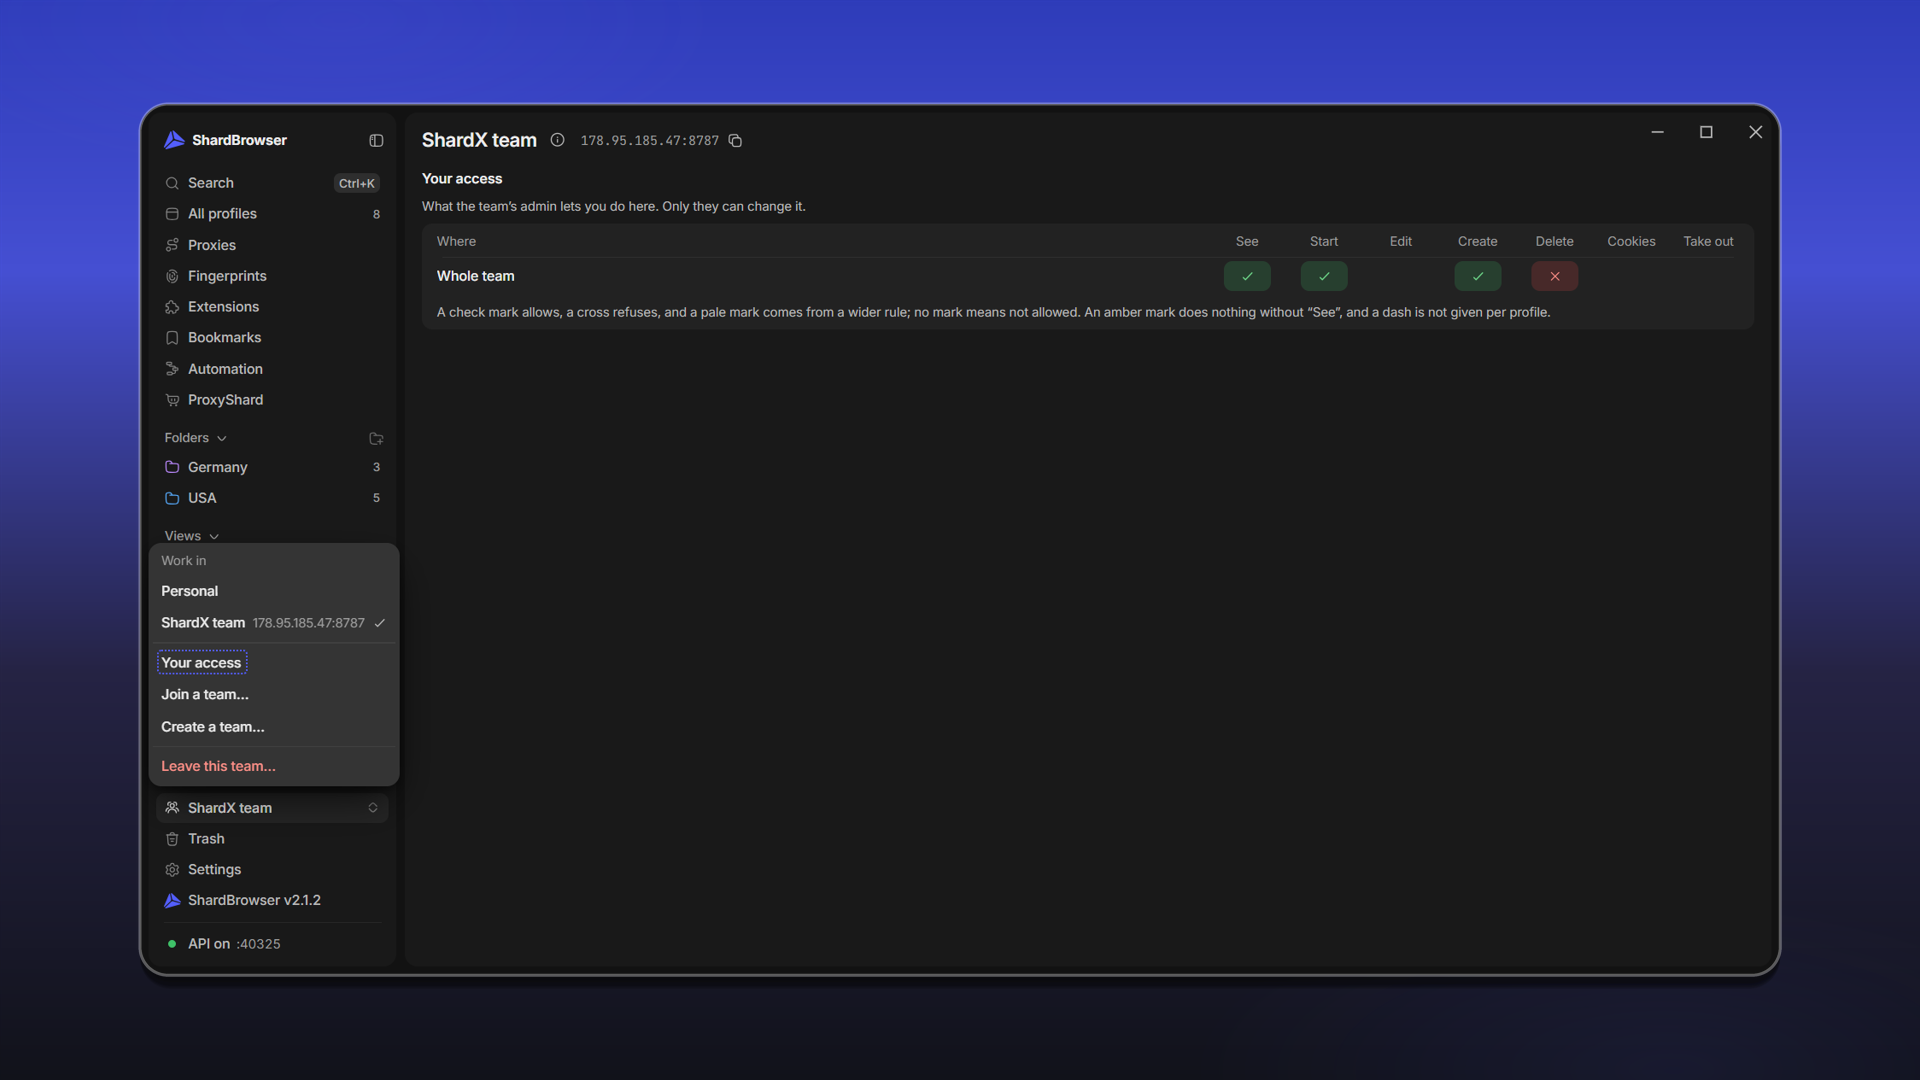
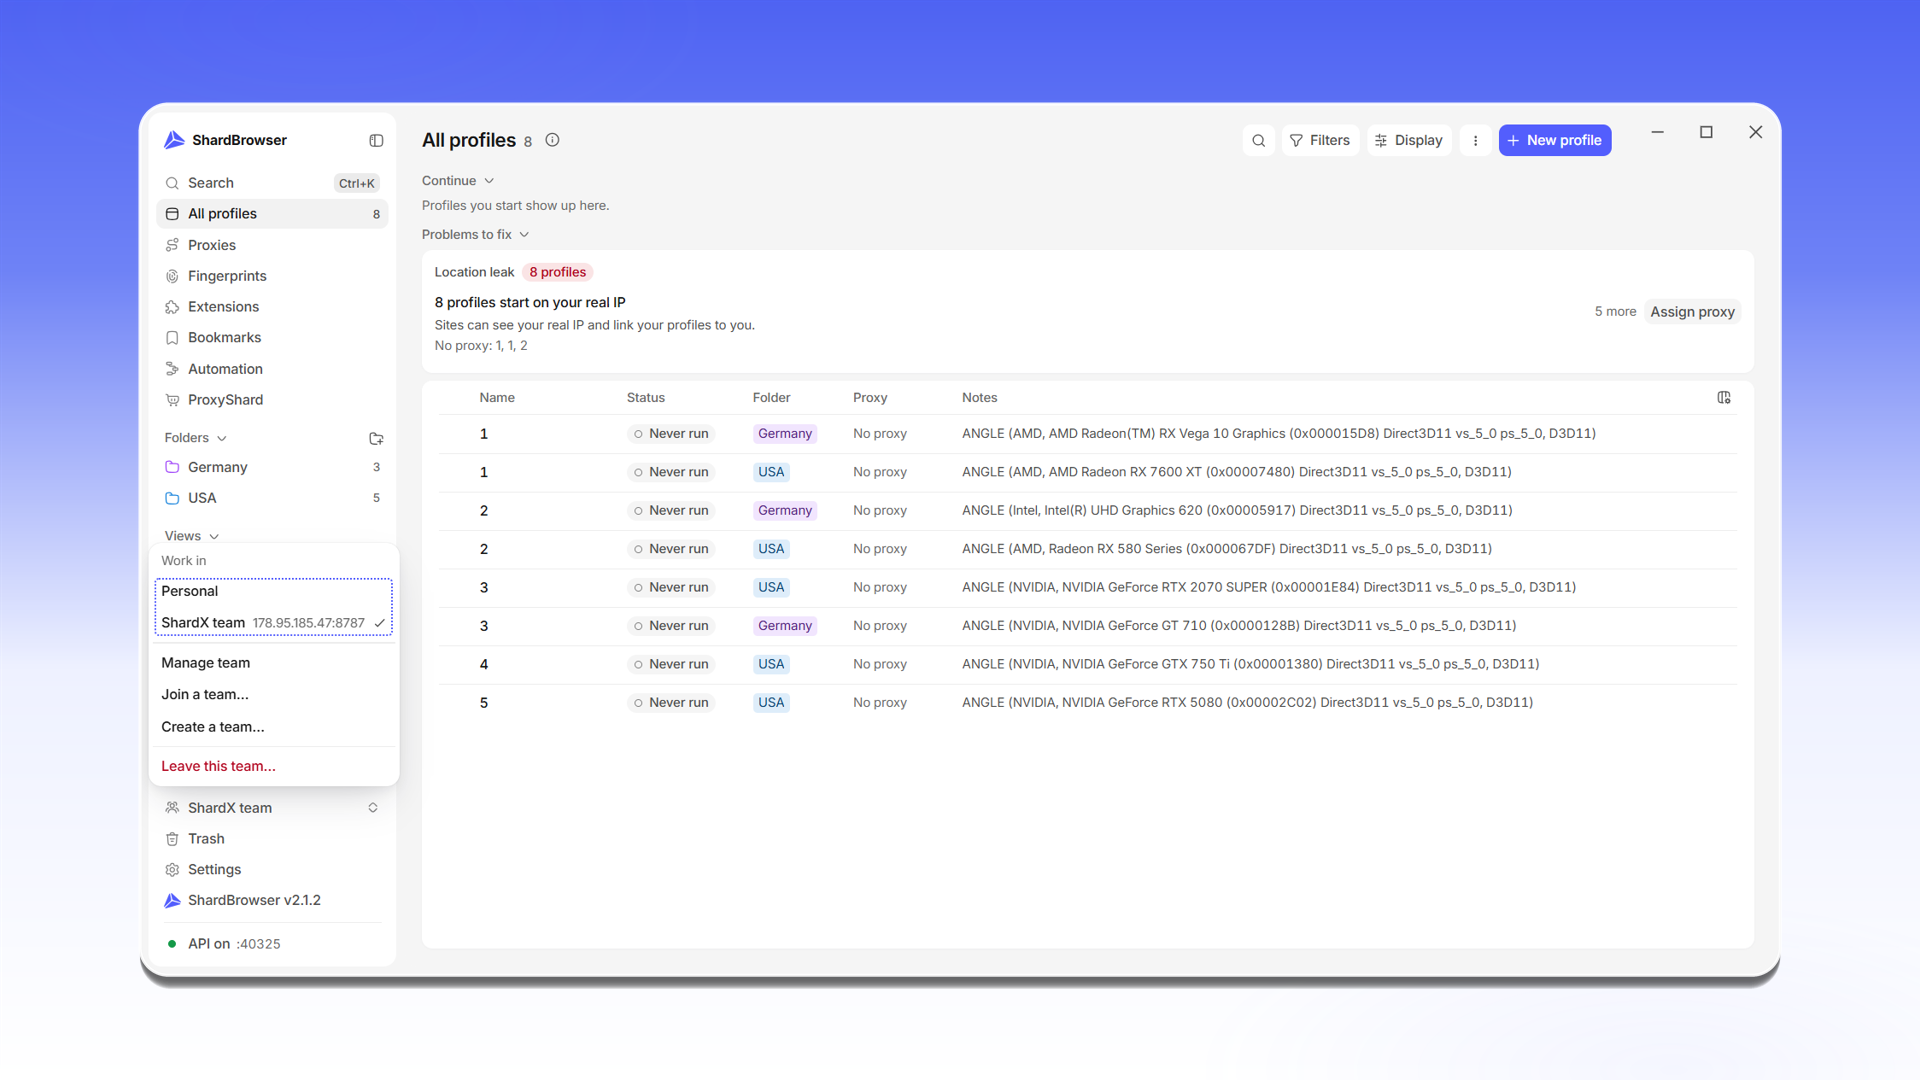
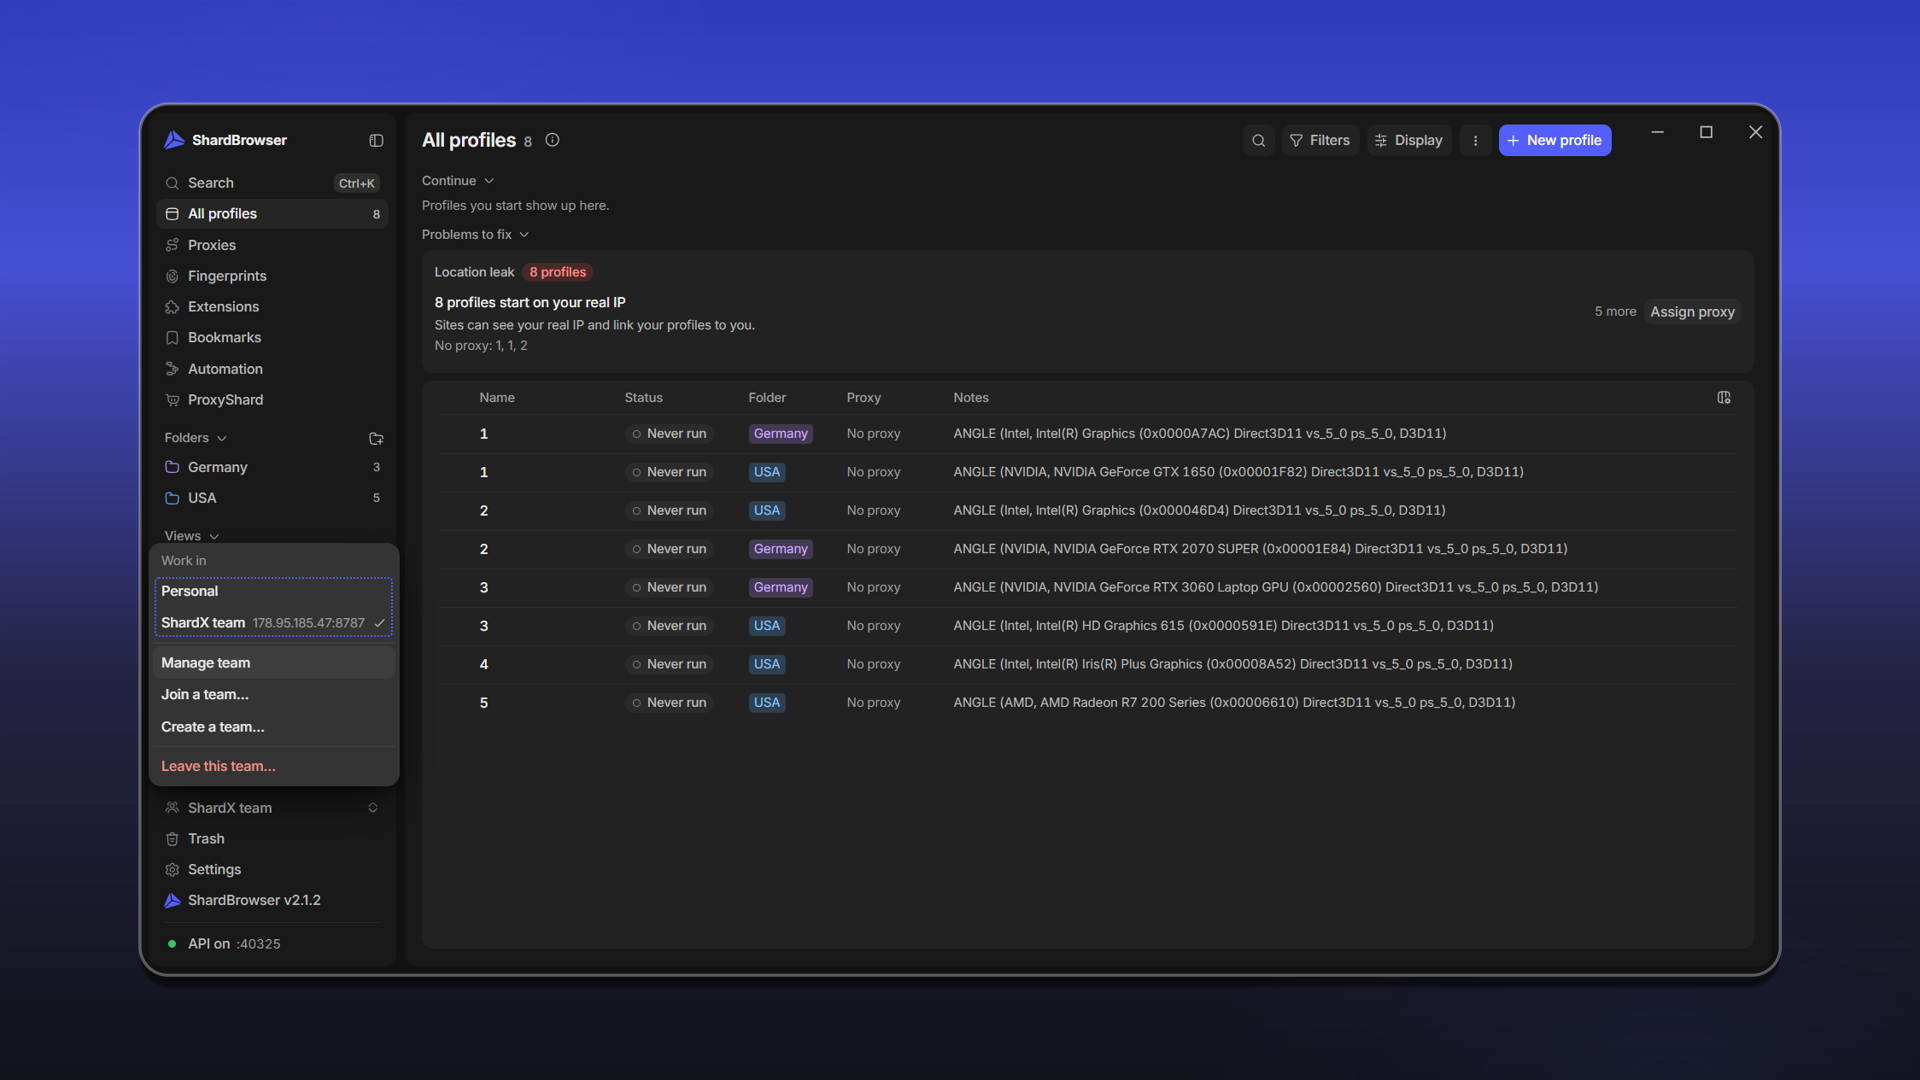
The workspace switcher at the bottom left shows where you are working now: in Personal (local profiles) or in a team, shown with its server address. From this menu the admin opens the team page (Manage team), and can also join another team, create a new one or leave the current one (Leave this team...).
Joining a team as a member
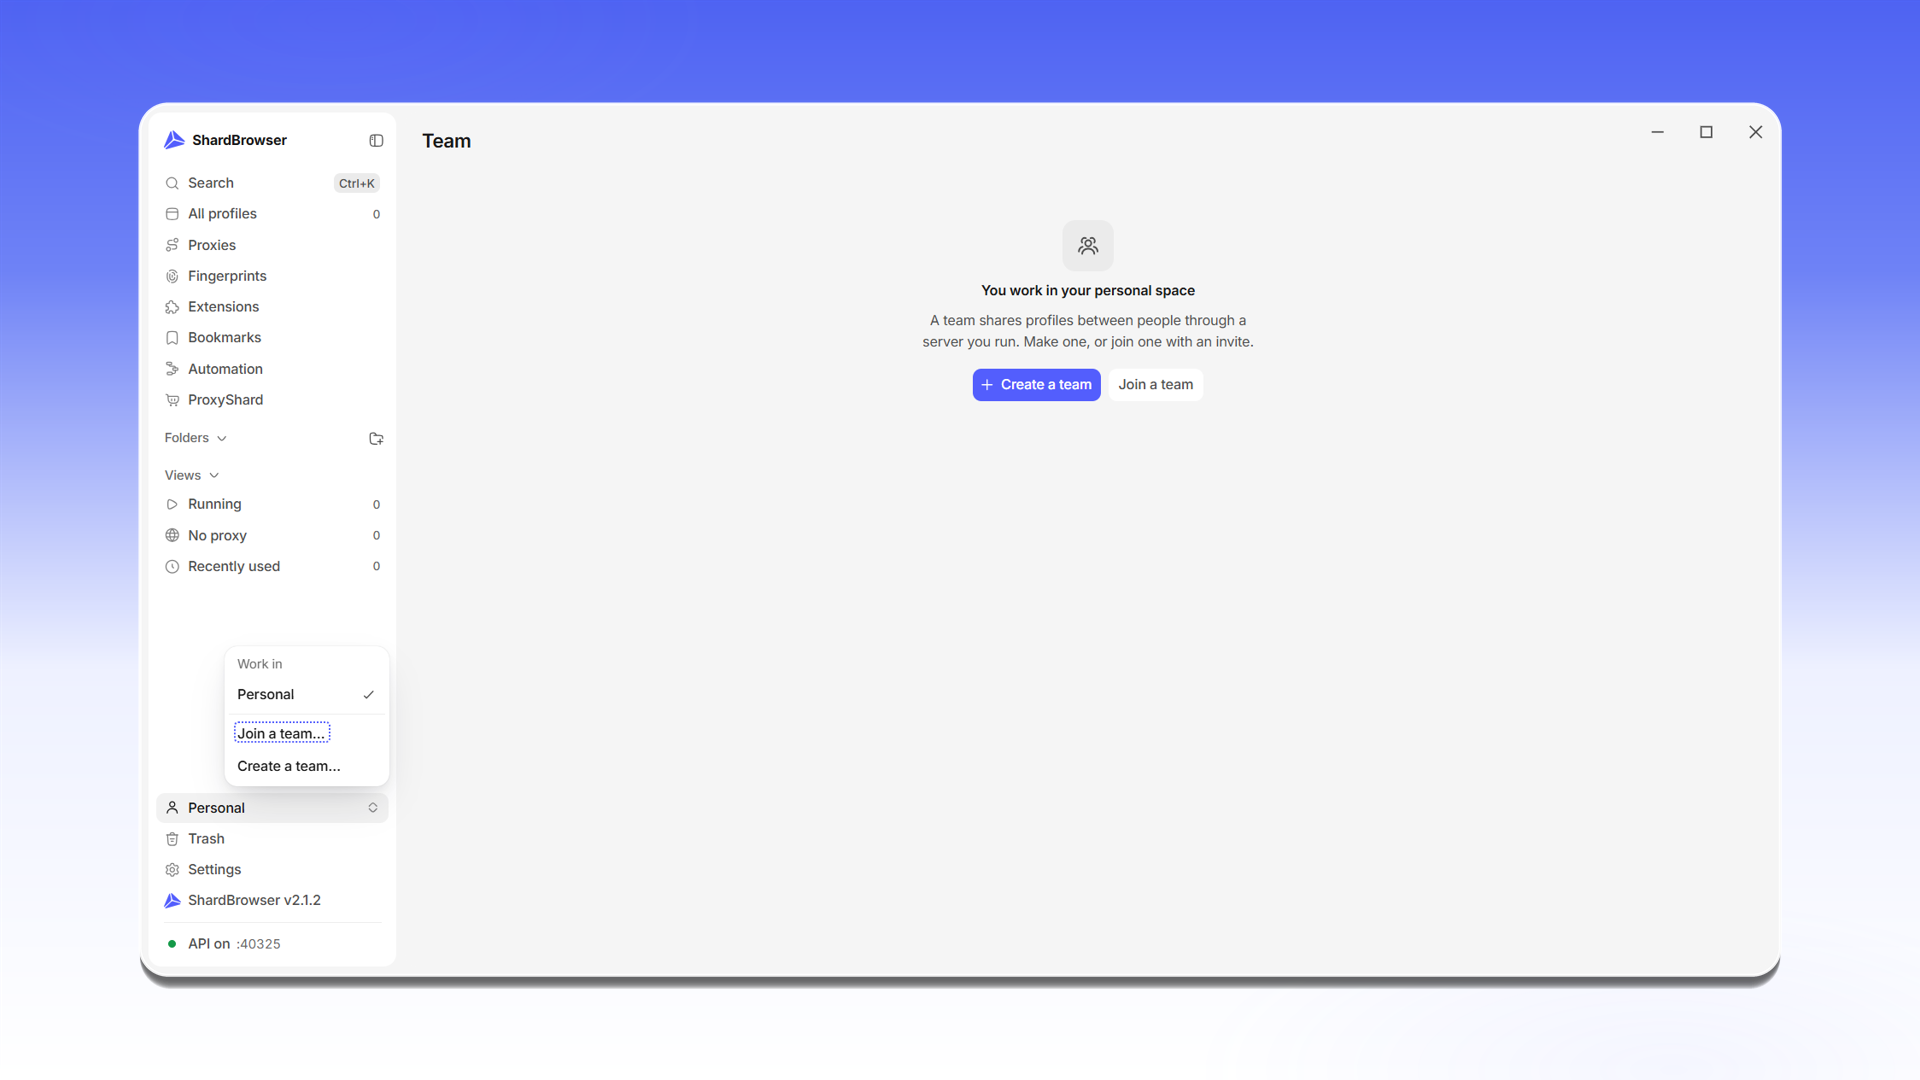
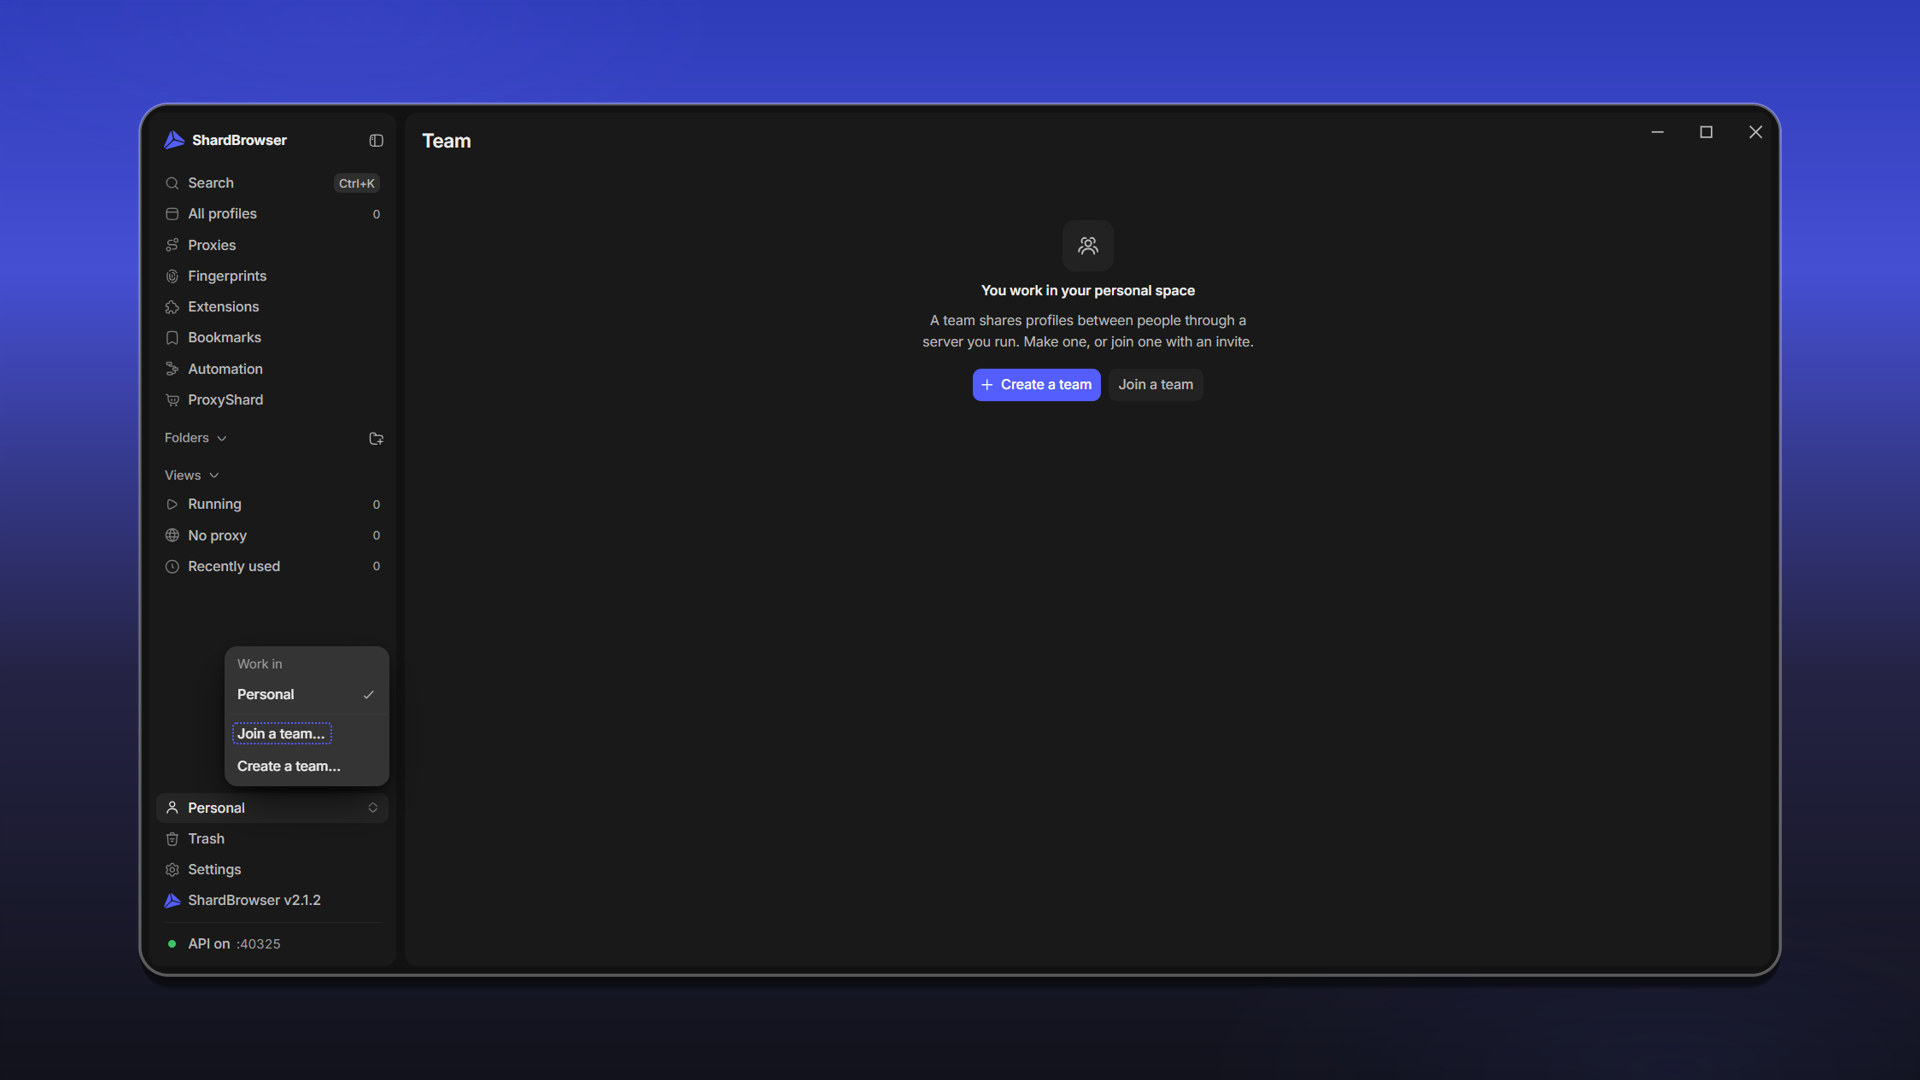
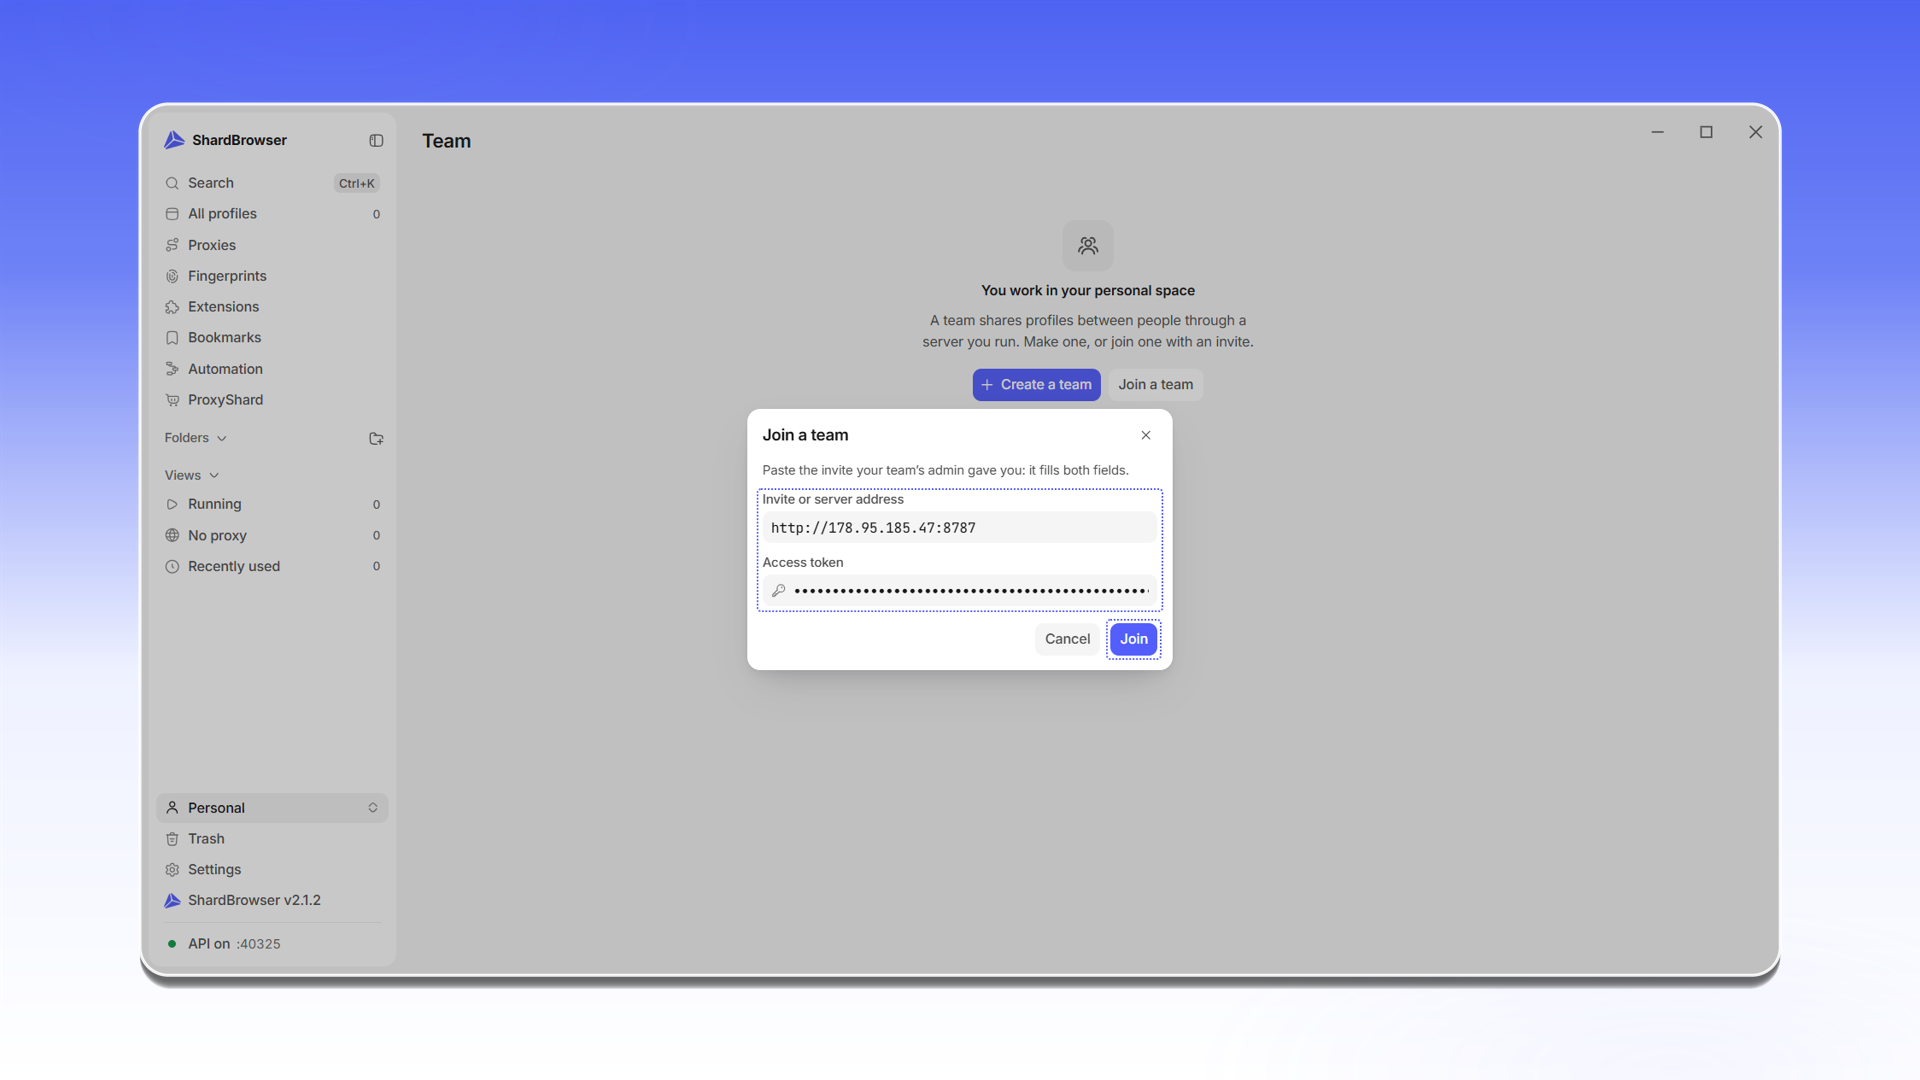
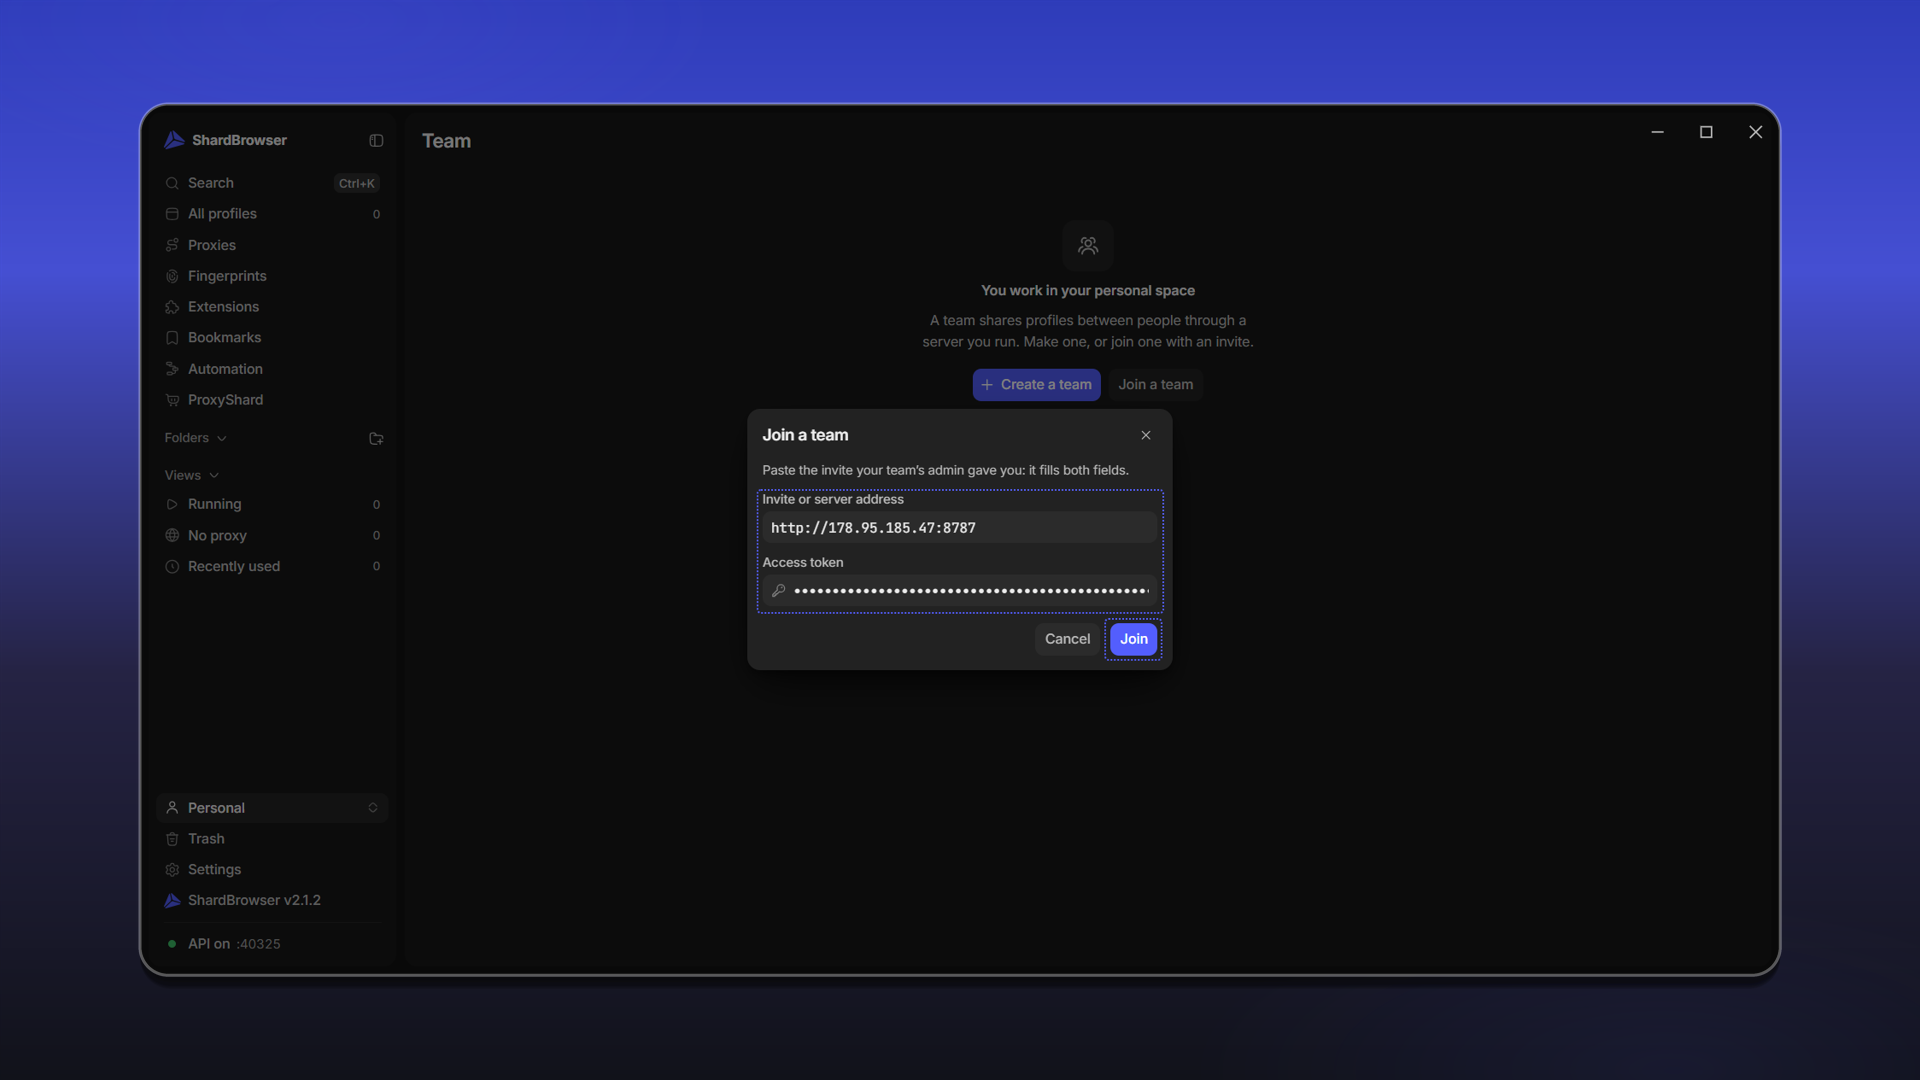
The member opens ShardBrowser, clicks the Personal switcher and selects Join a team....
In the Join a team window, paste the invite received from the admin into the Invite or server address field. The server address and Access token are filled in automatically. Then click Join.
After joining, the member's switcher menu gets a Your access item. It shows the rights the admin has given. Only the admin can change them.
In All profiles, the member sees the team's profiles from the folders available to them and works with them within the granted rights. To return to local profiles, select Personal in the switcher.
Last updated on